Tutorial 2: CAD Driven BOM
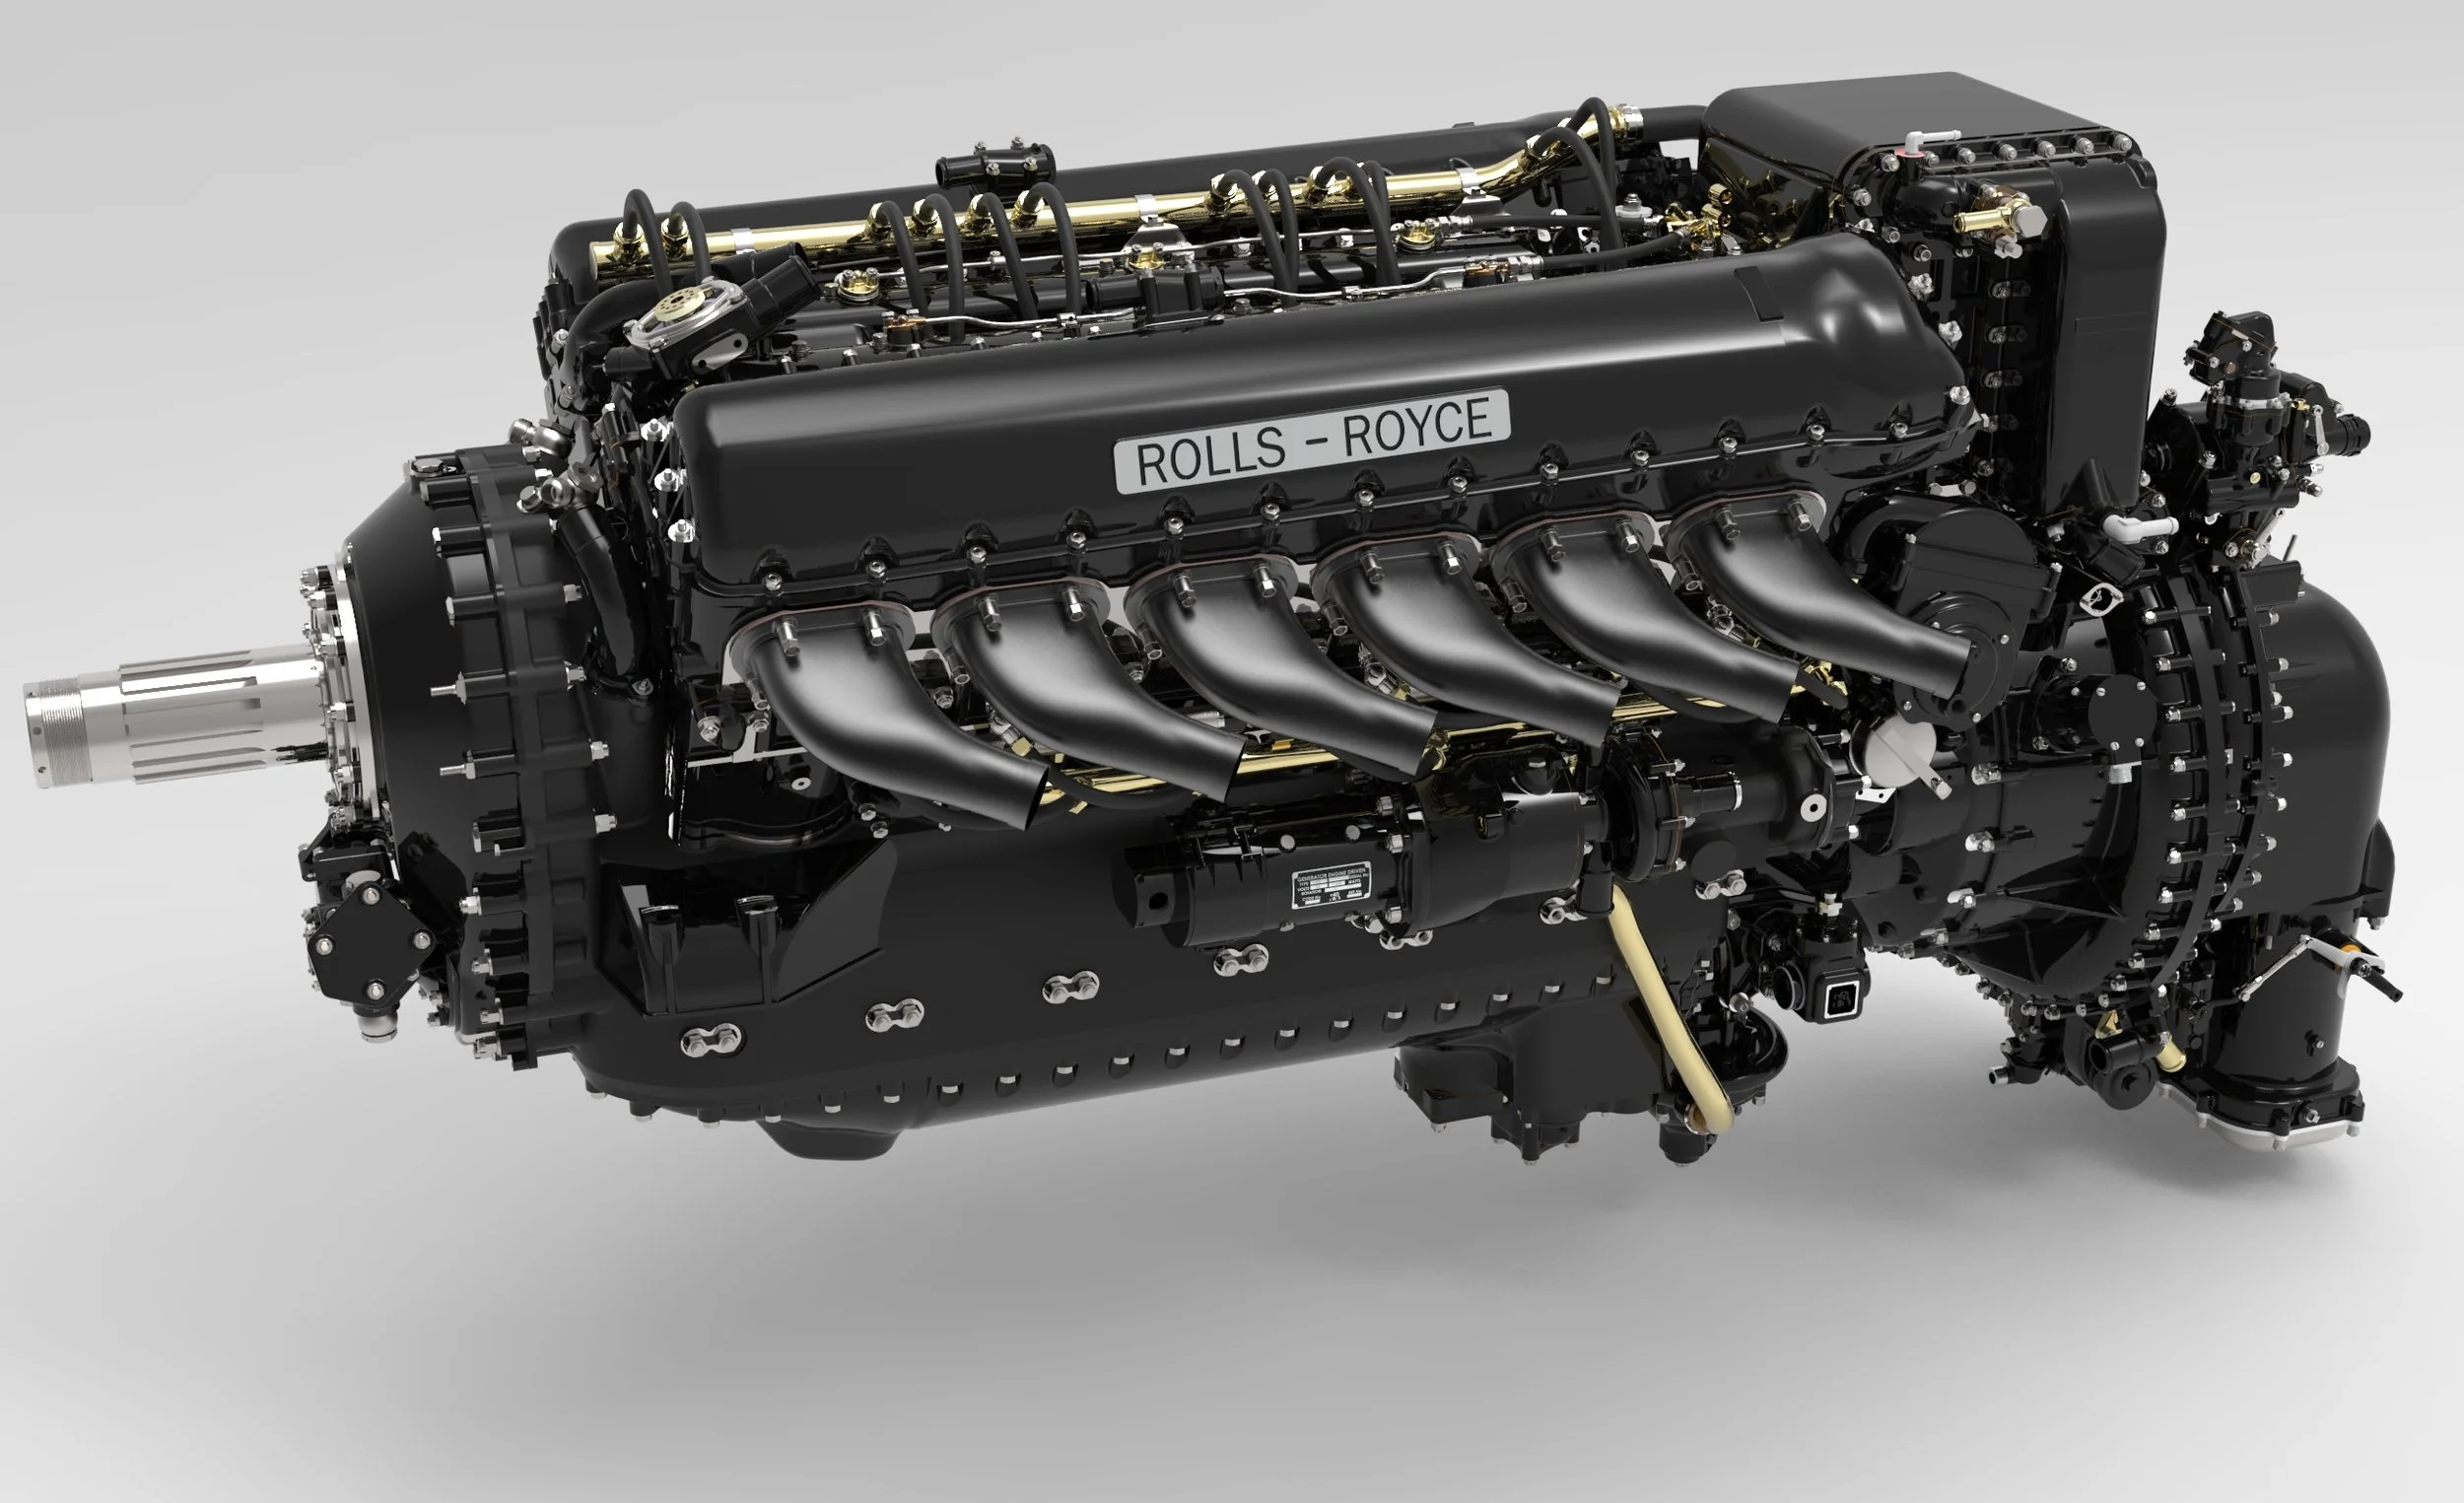
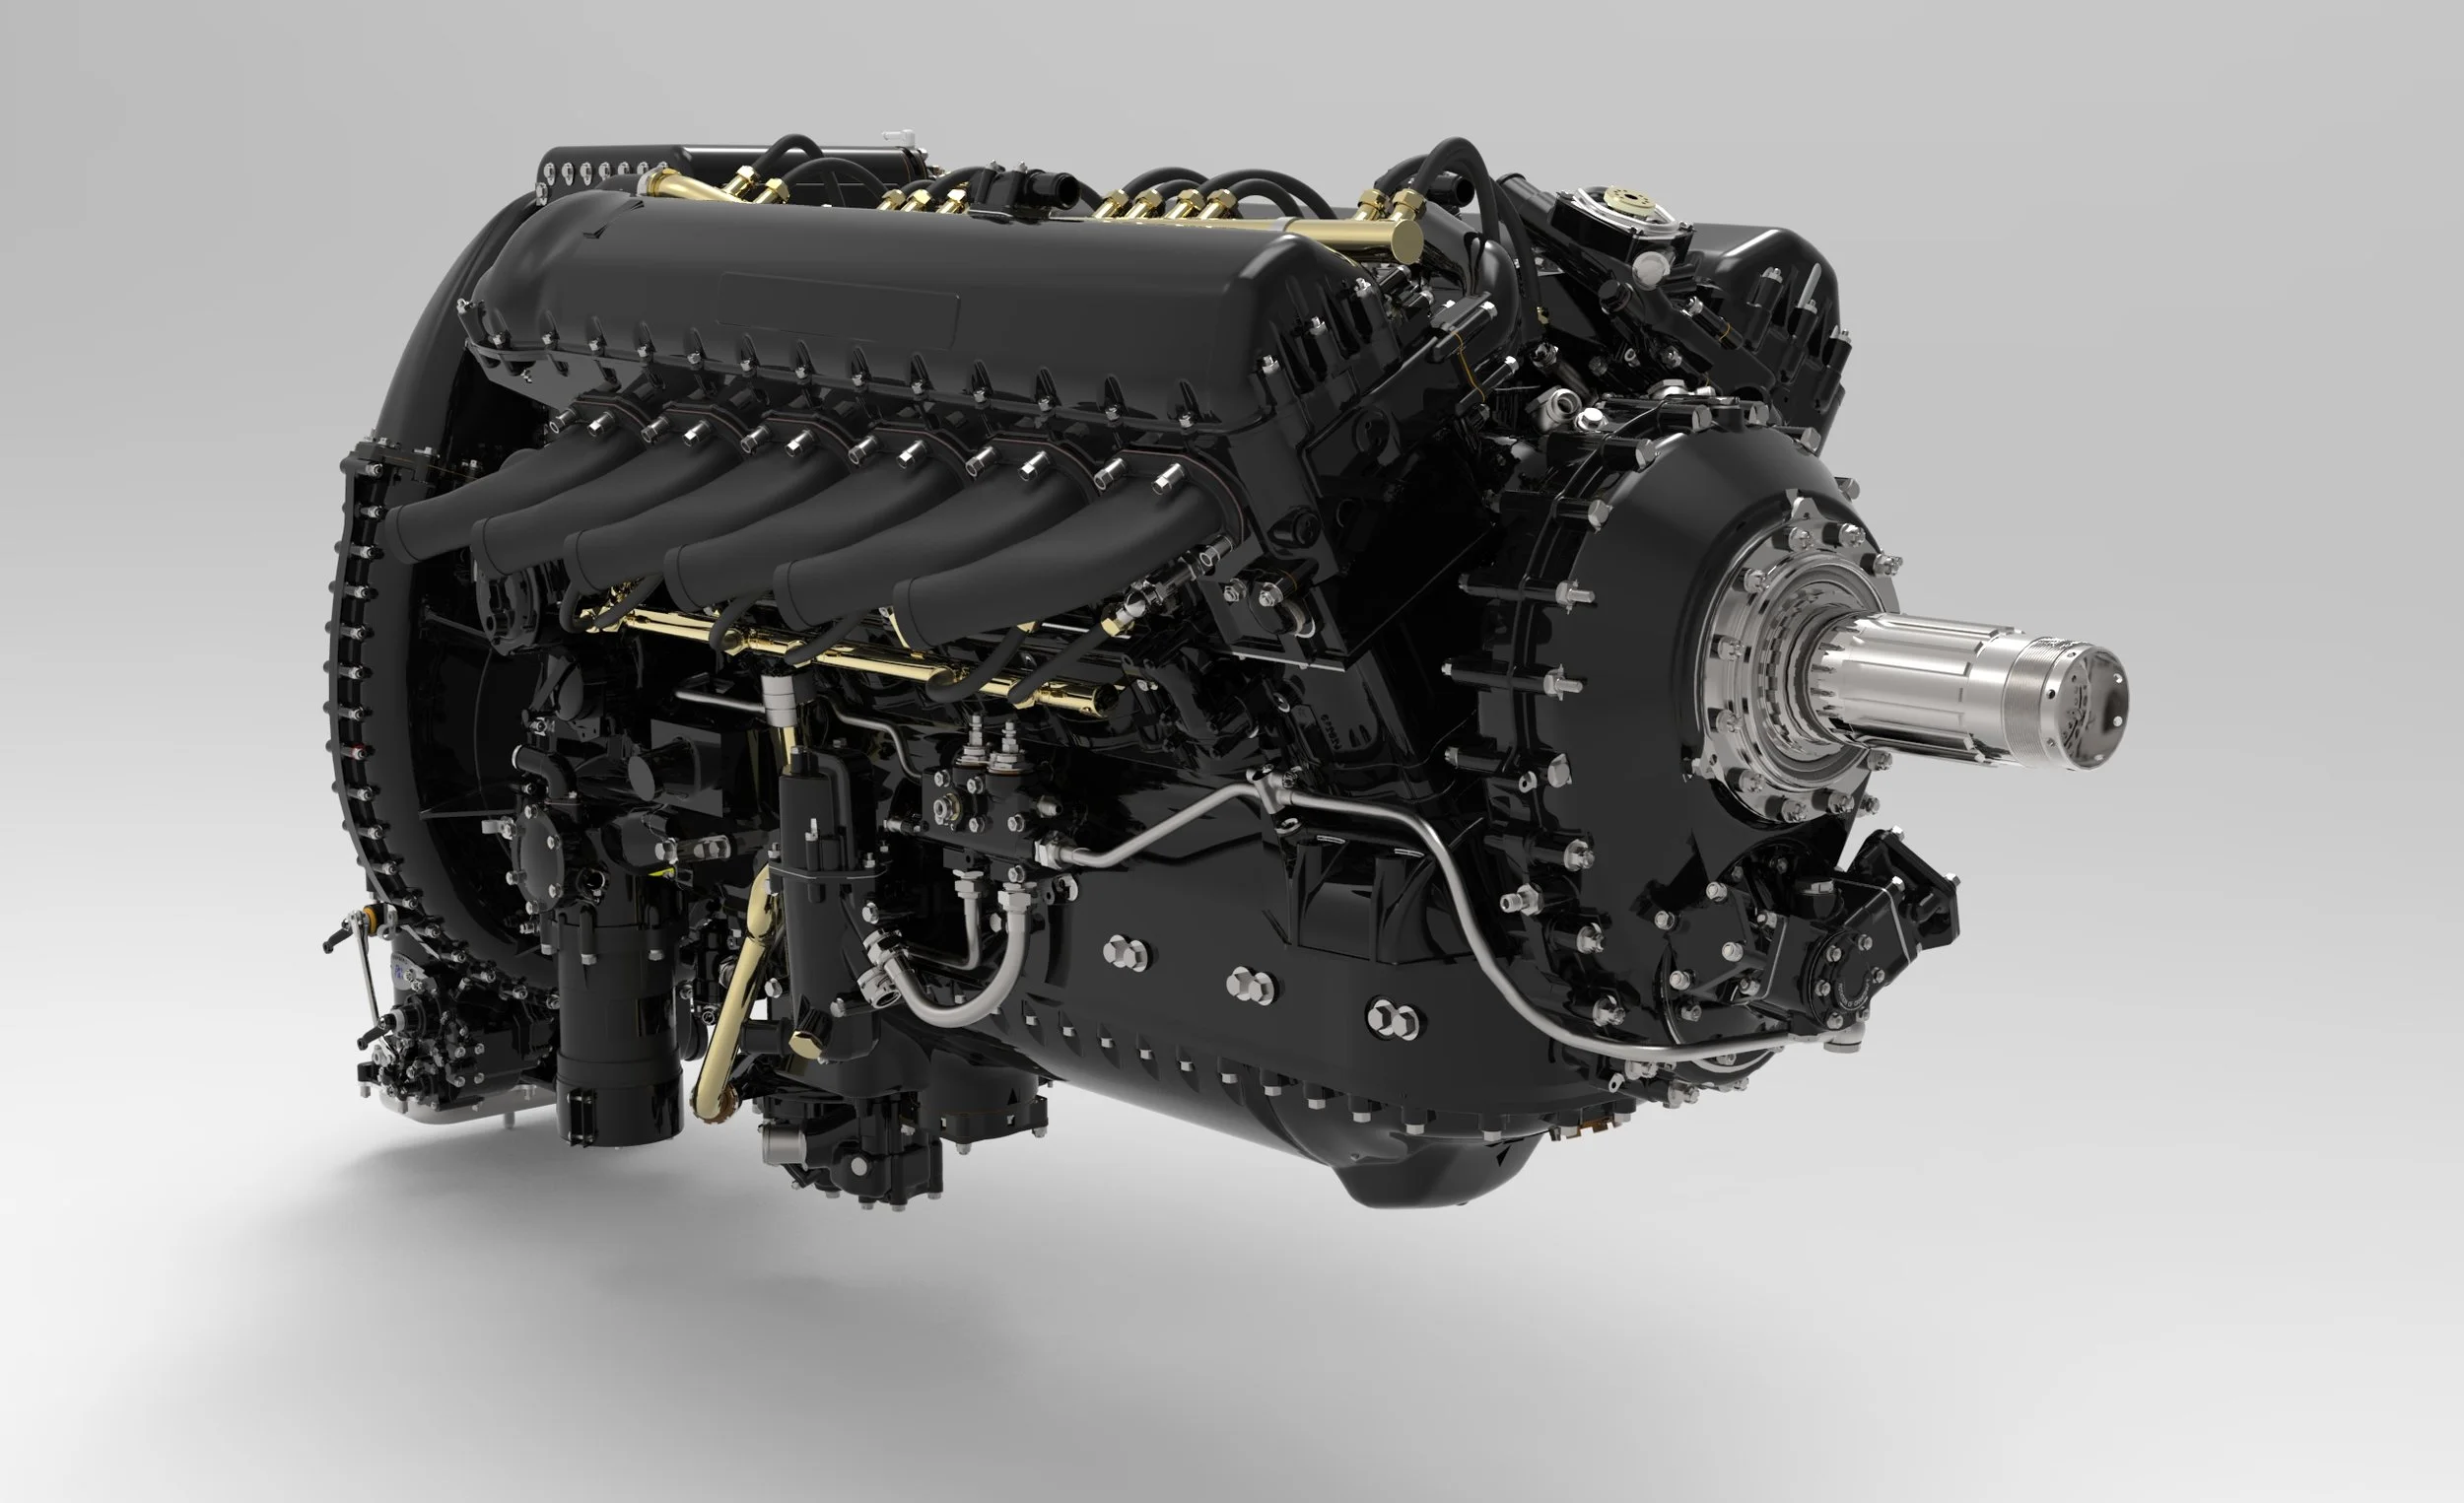
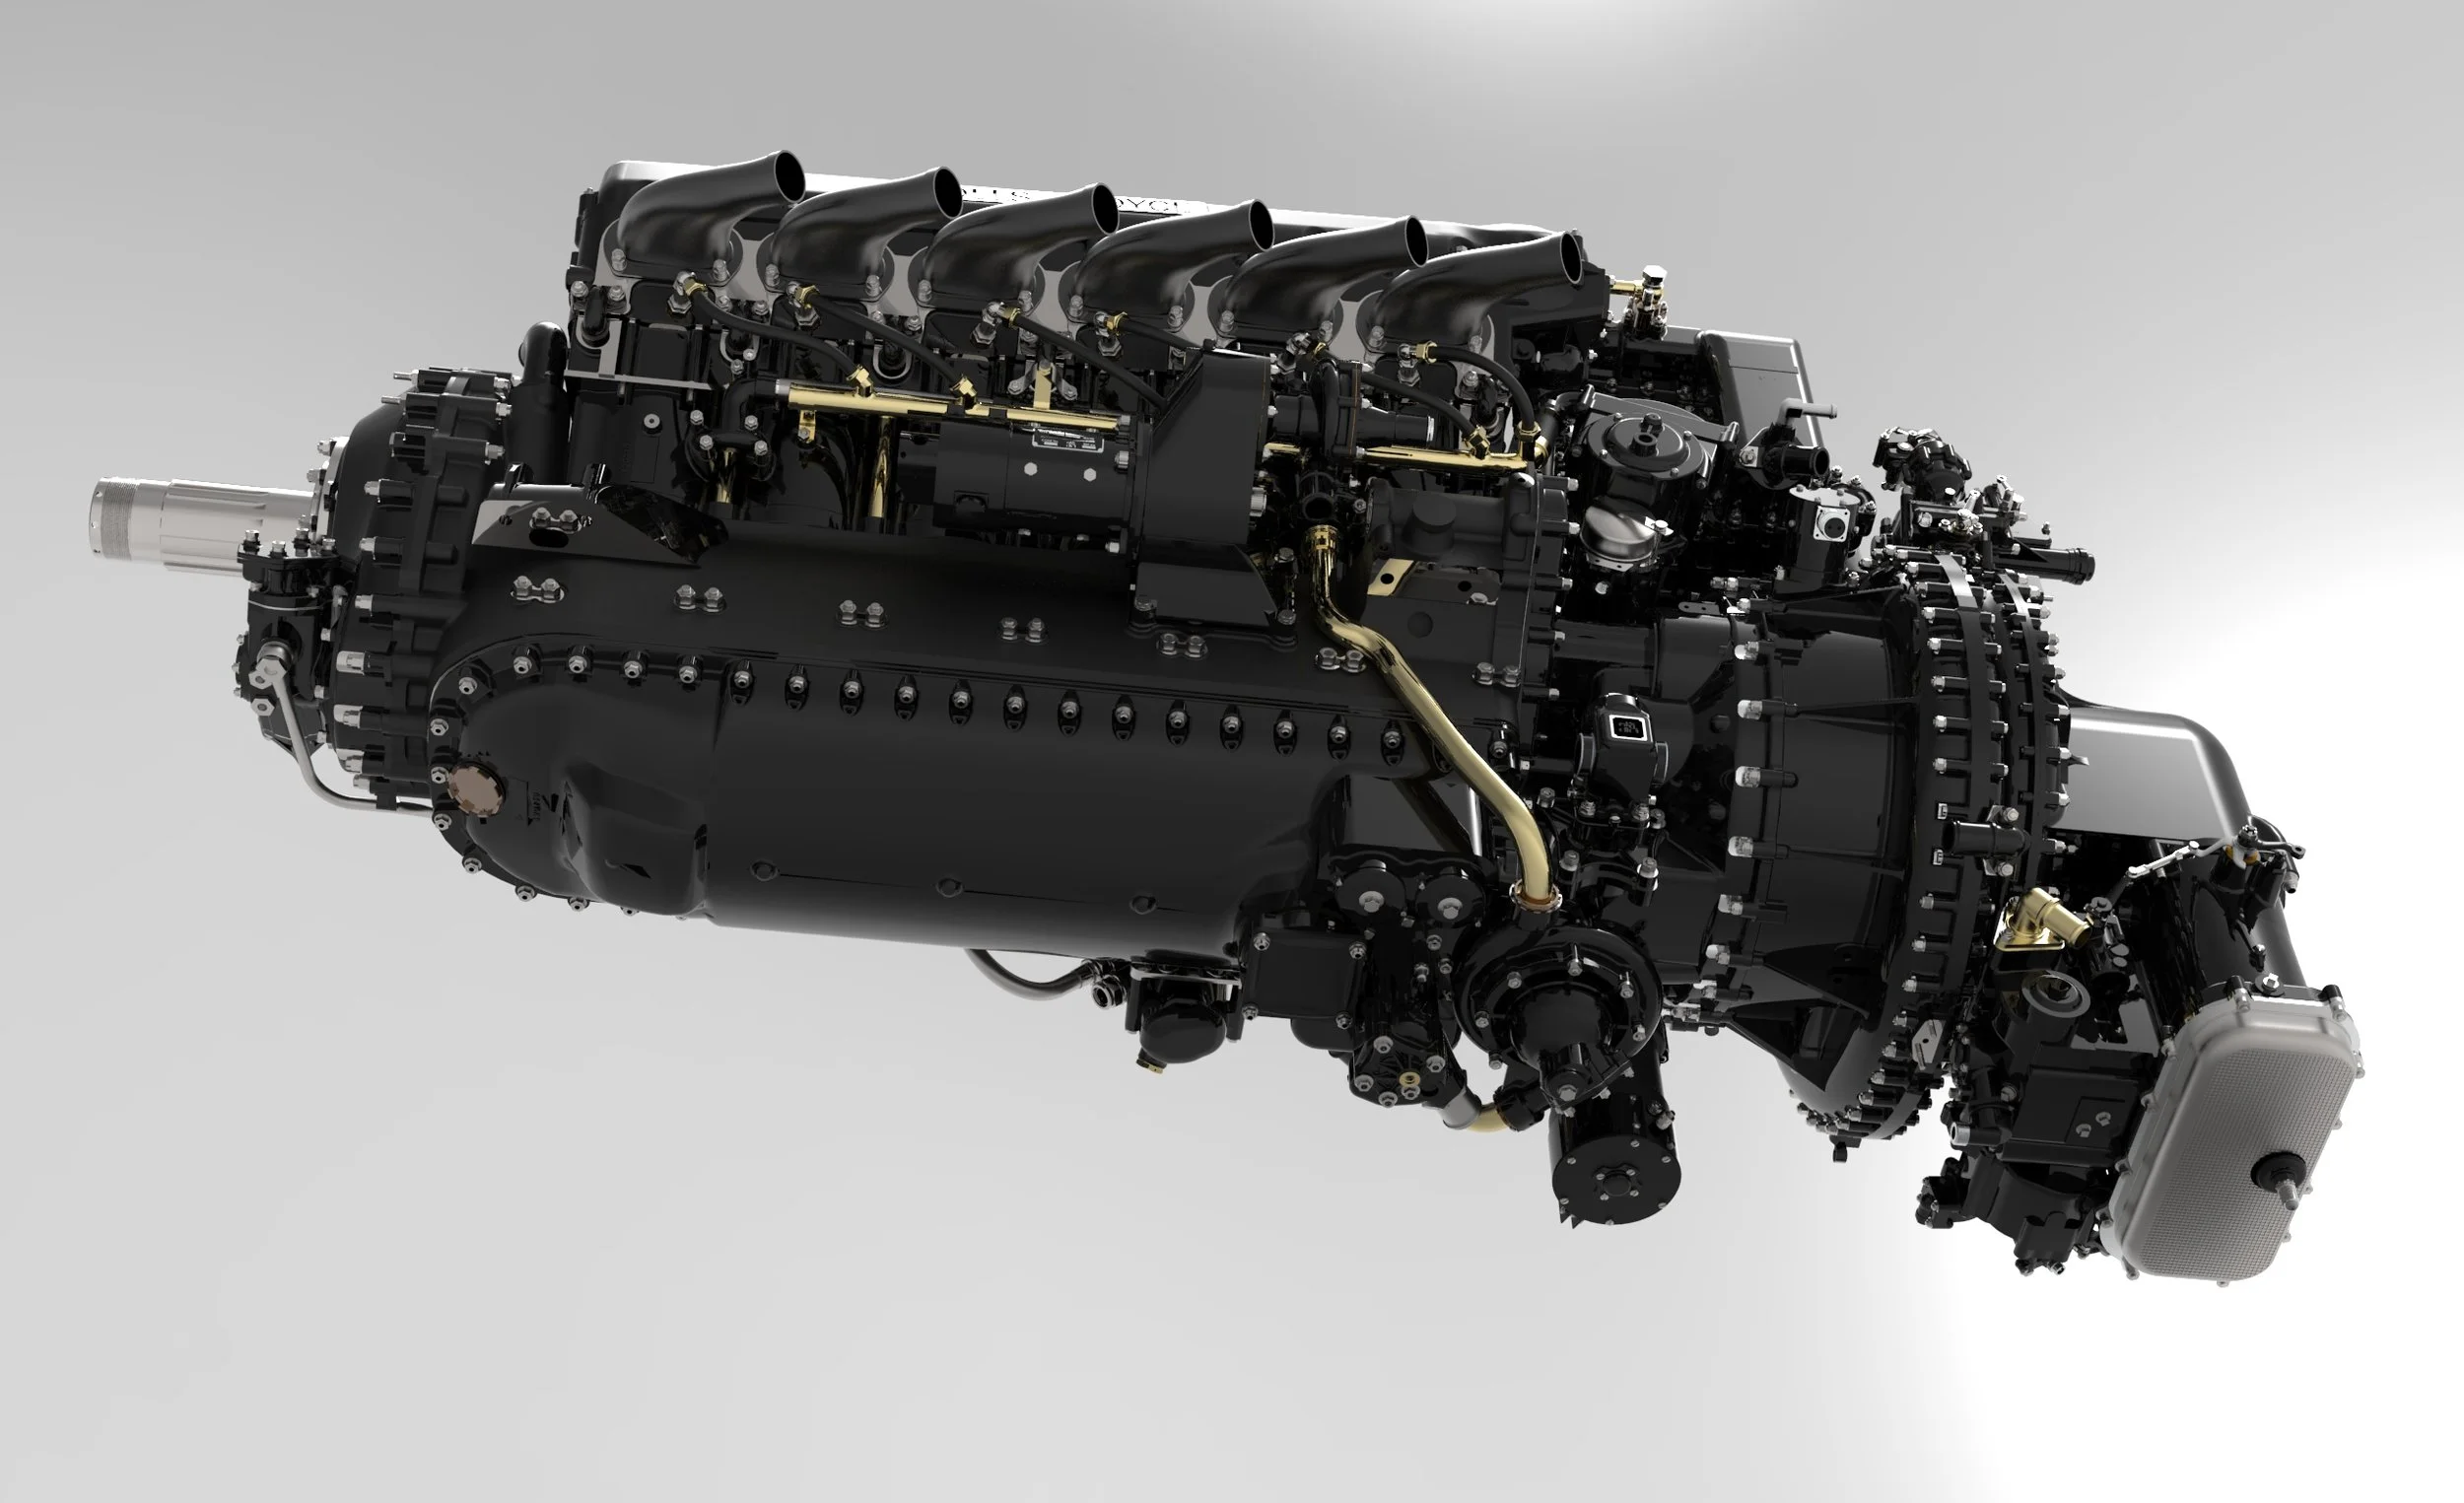
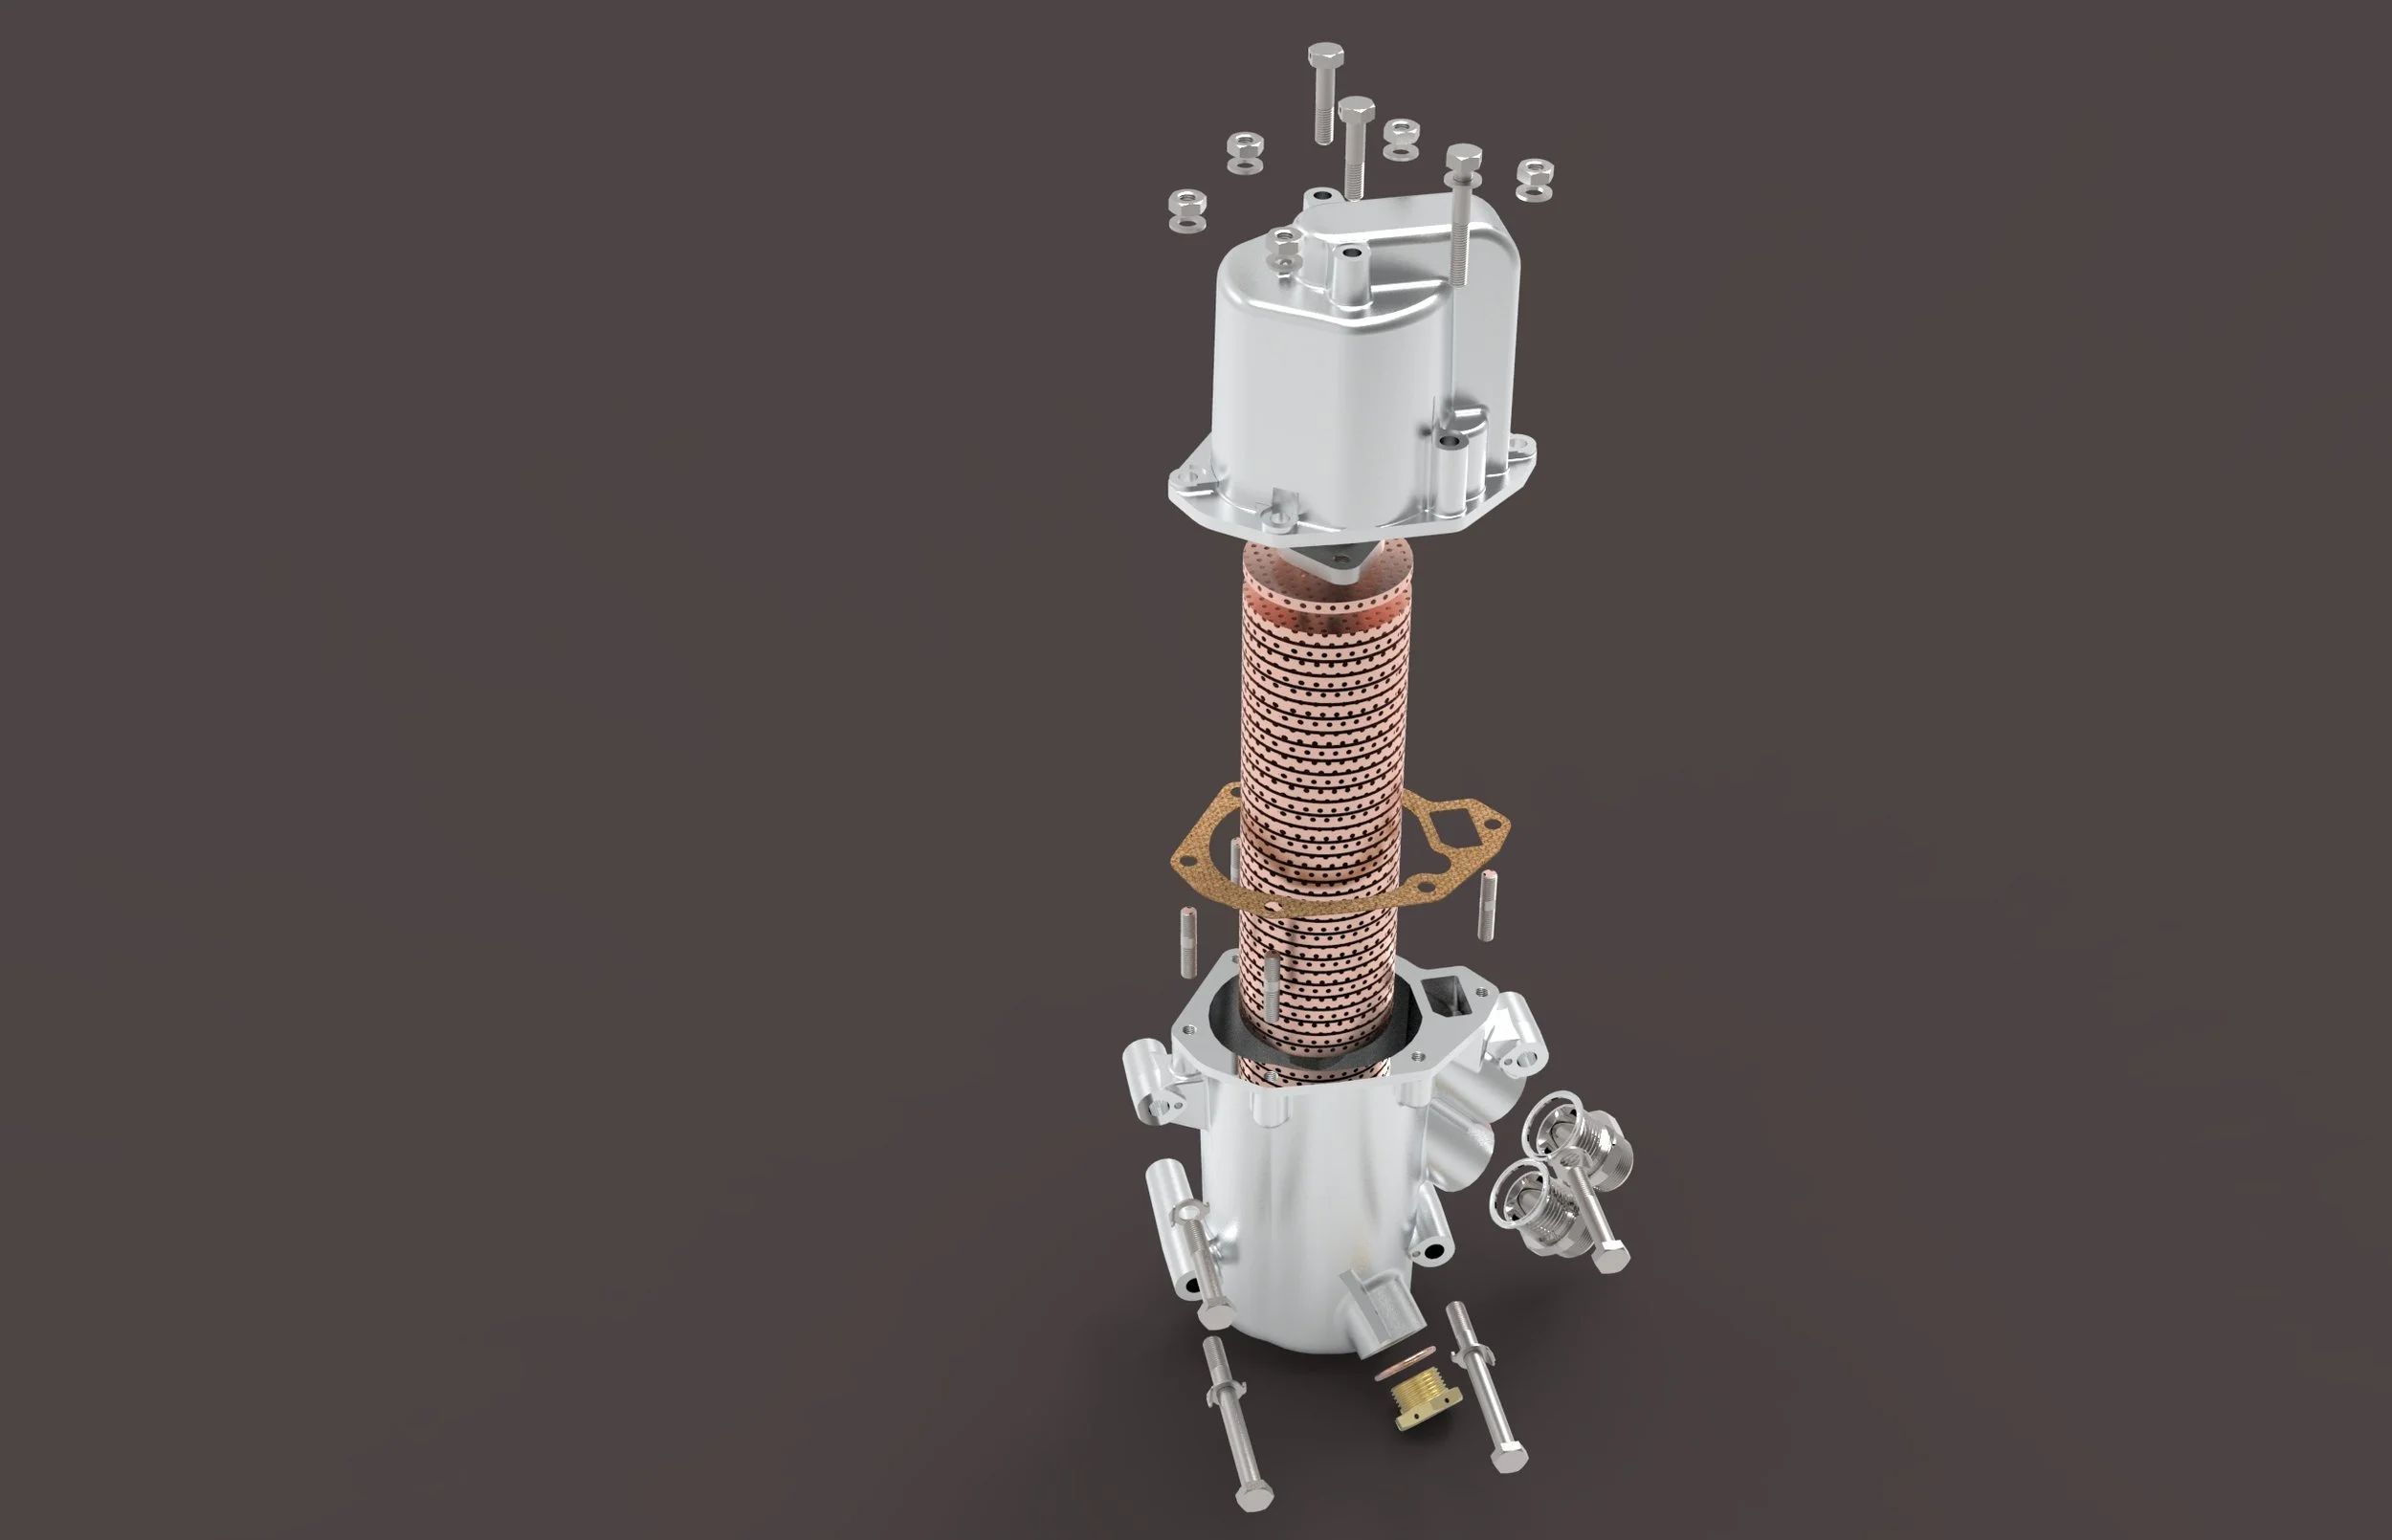
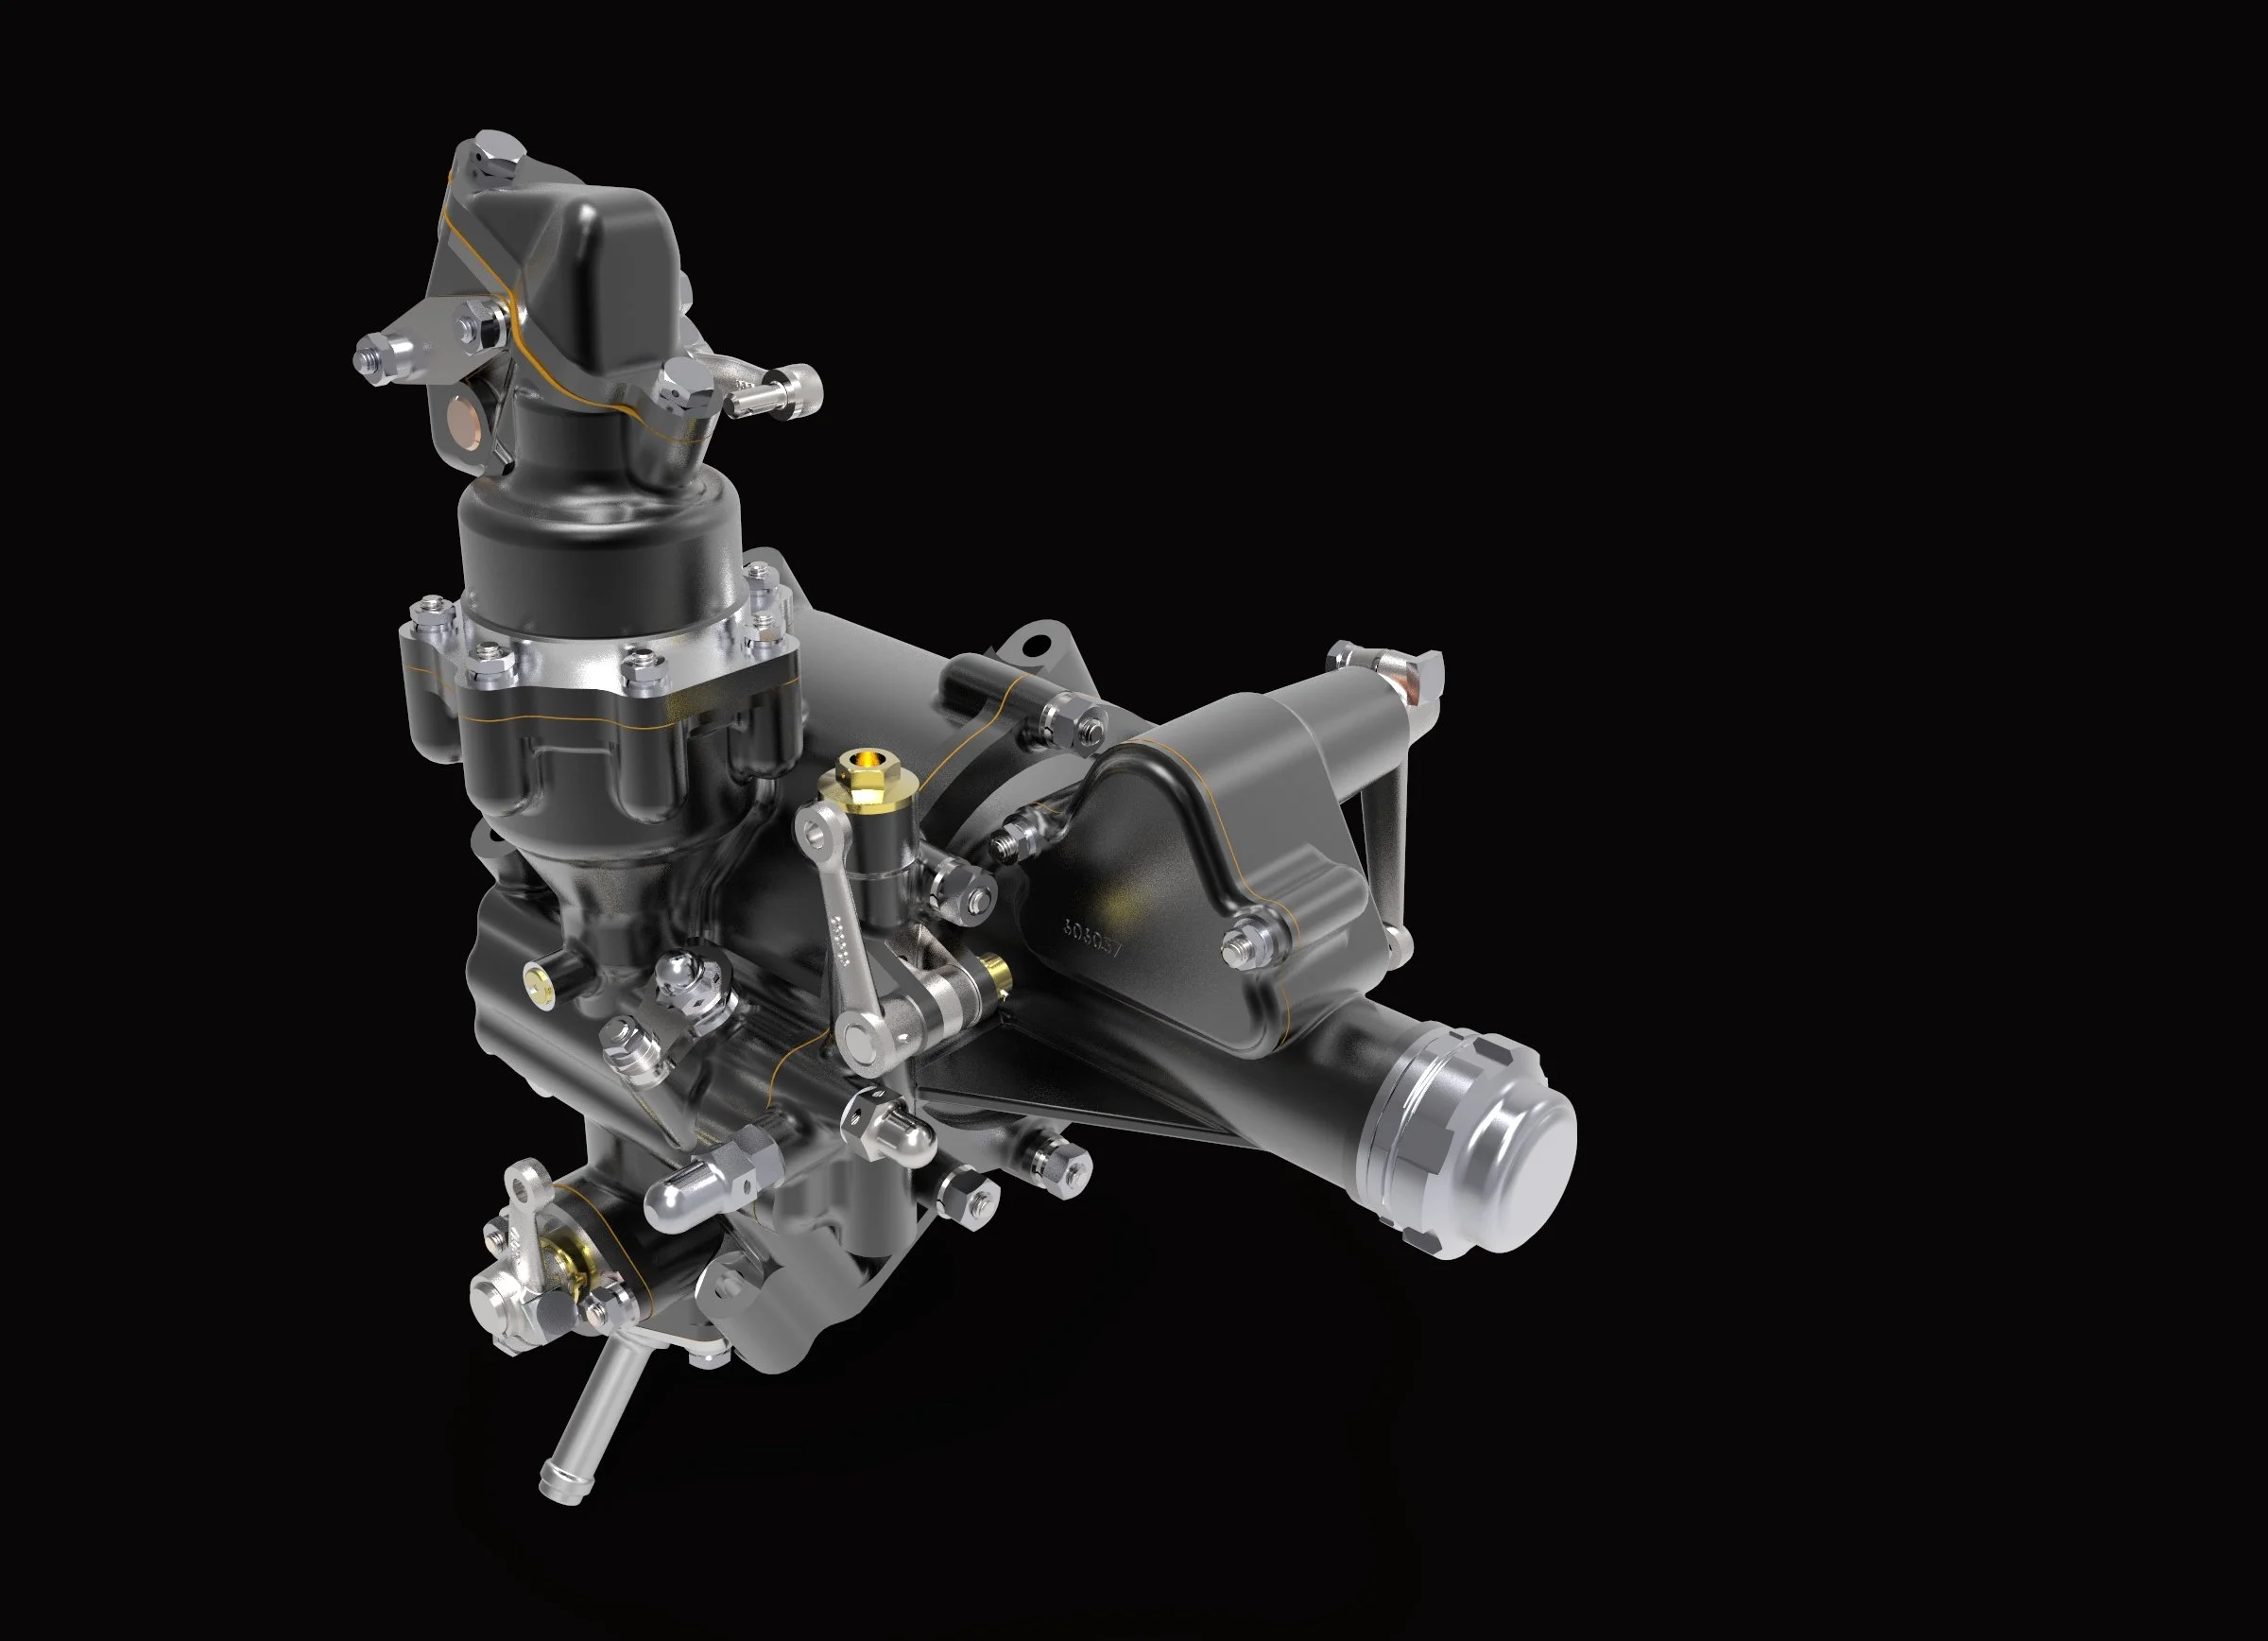
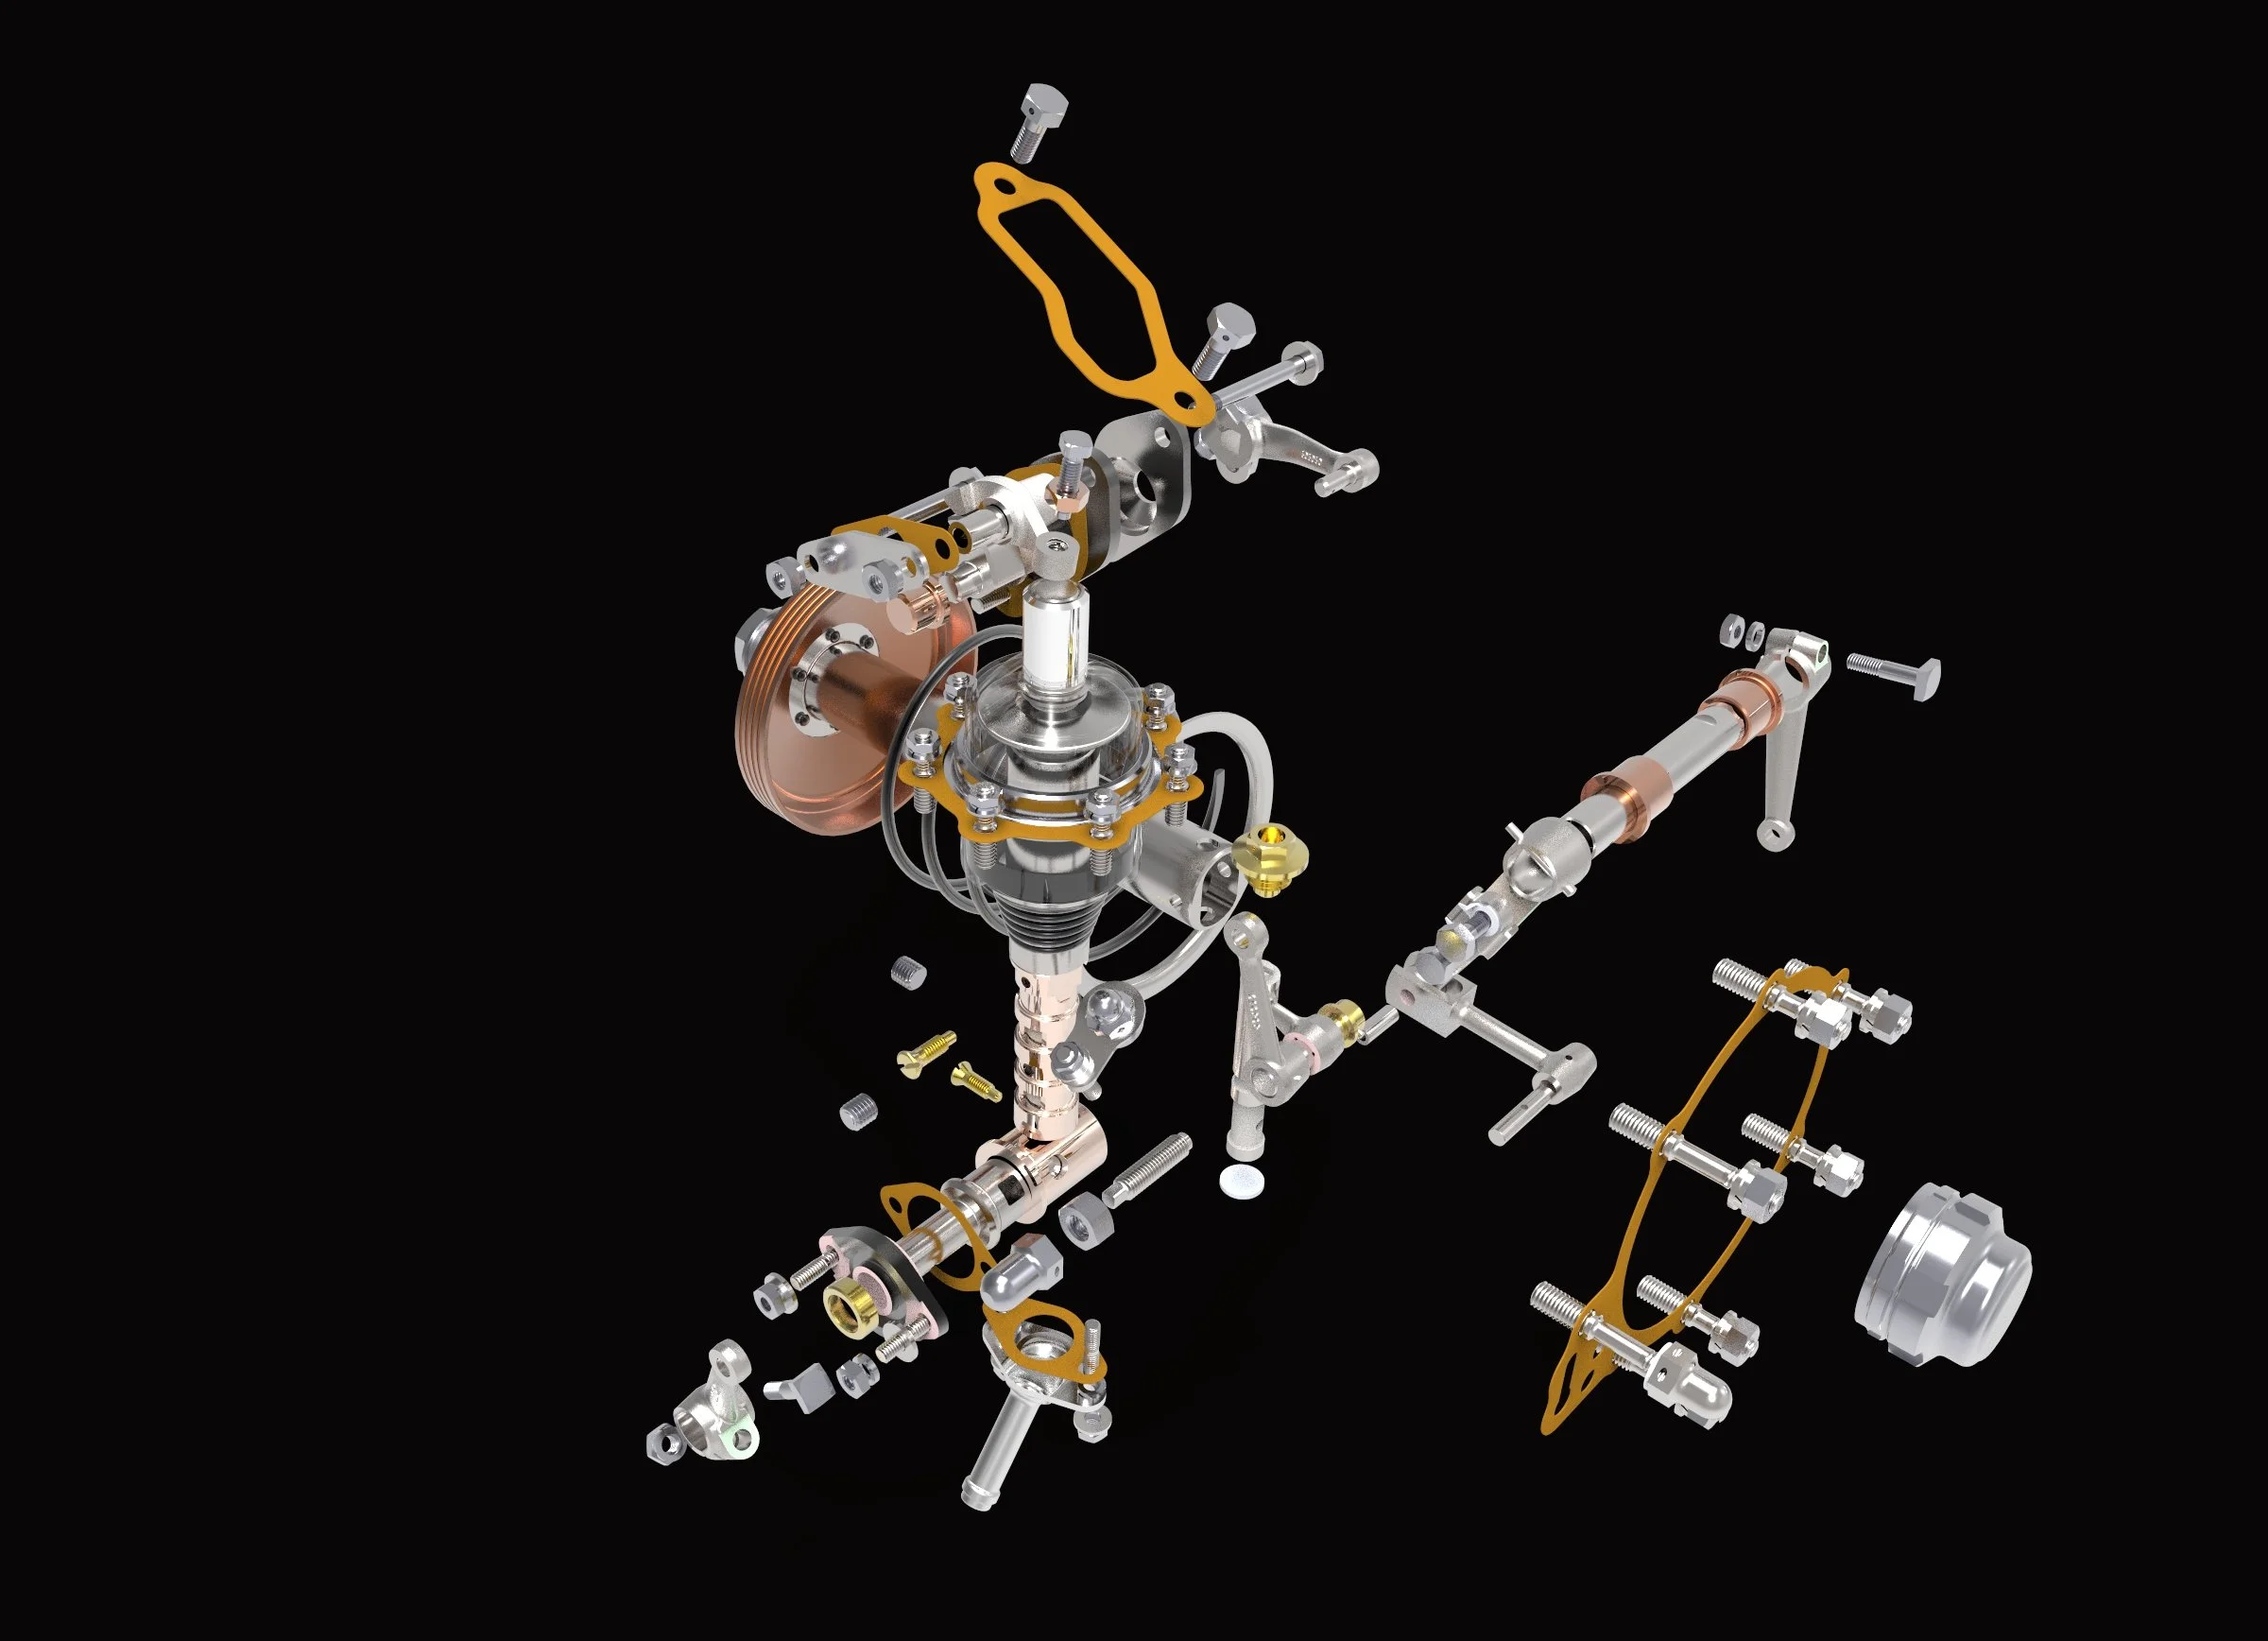
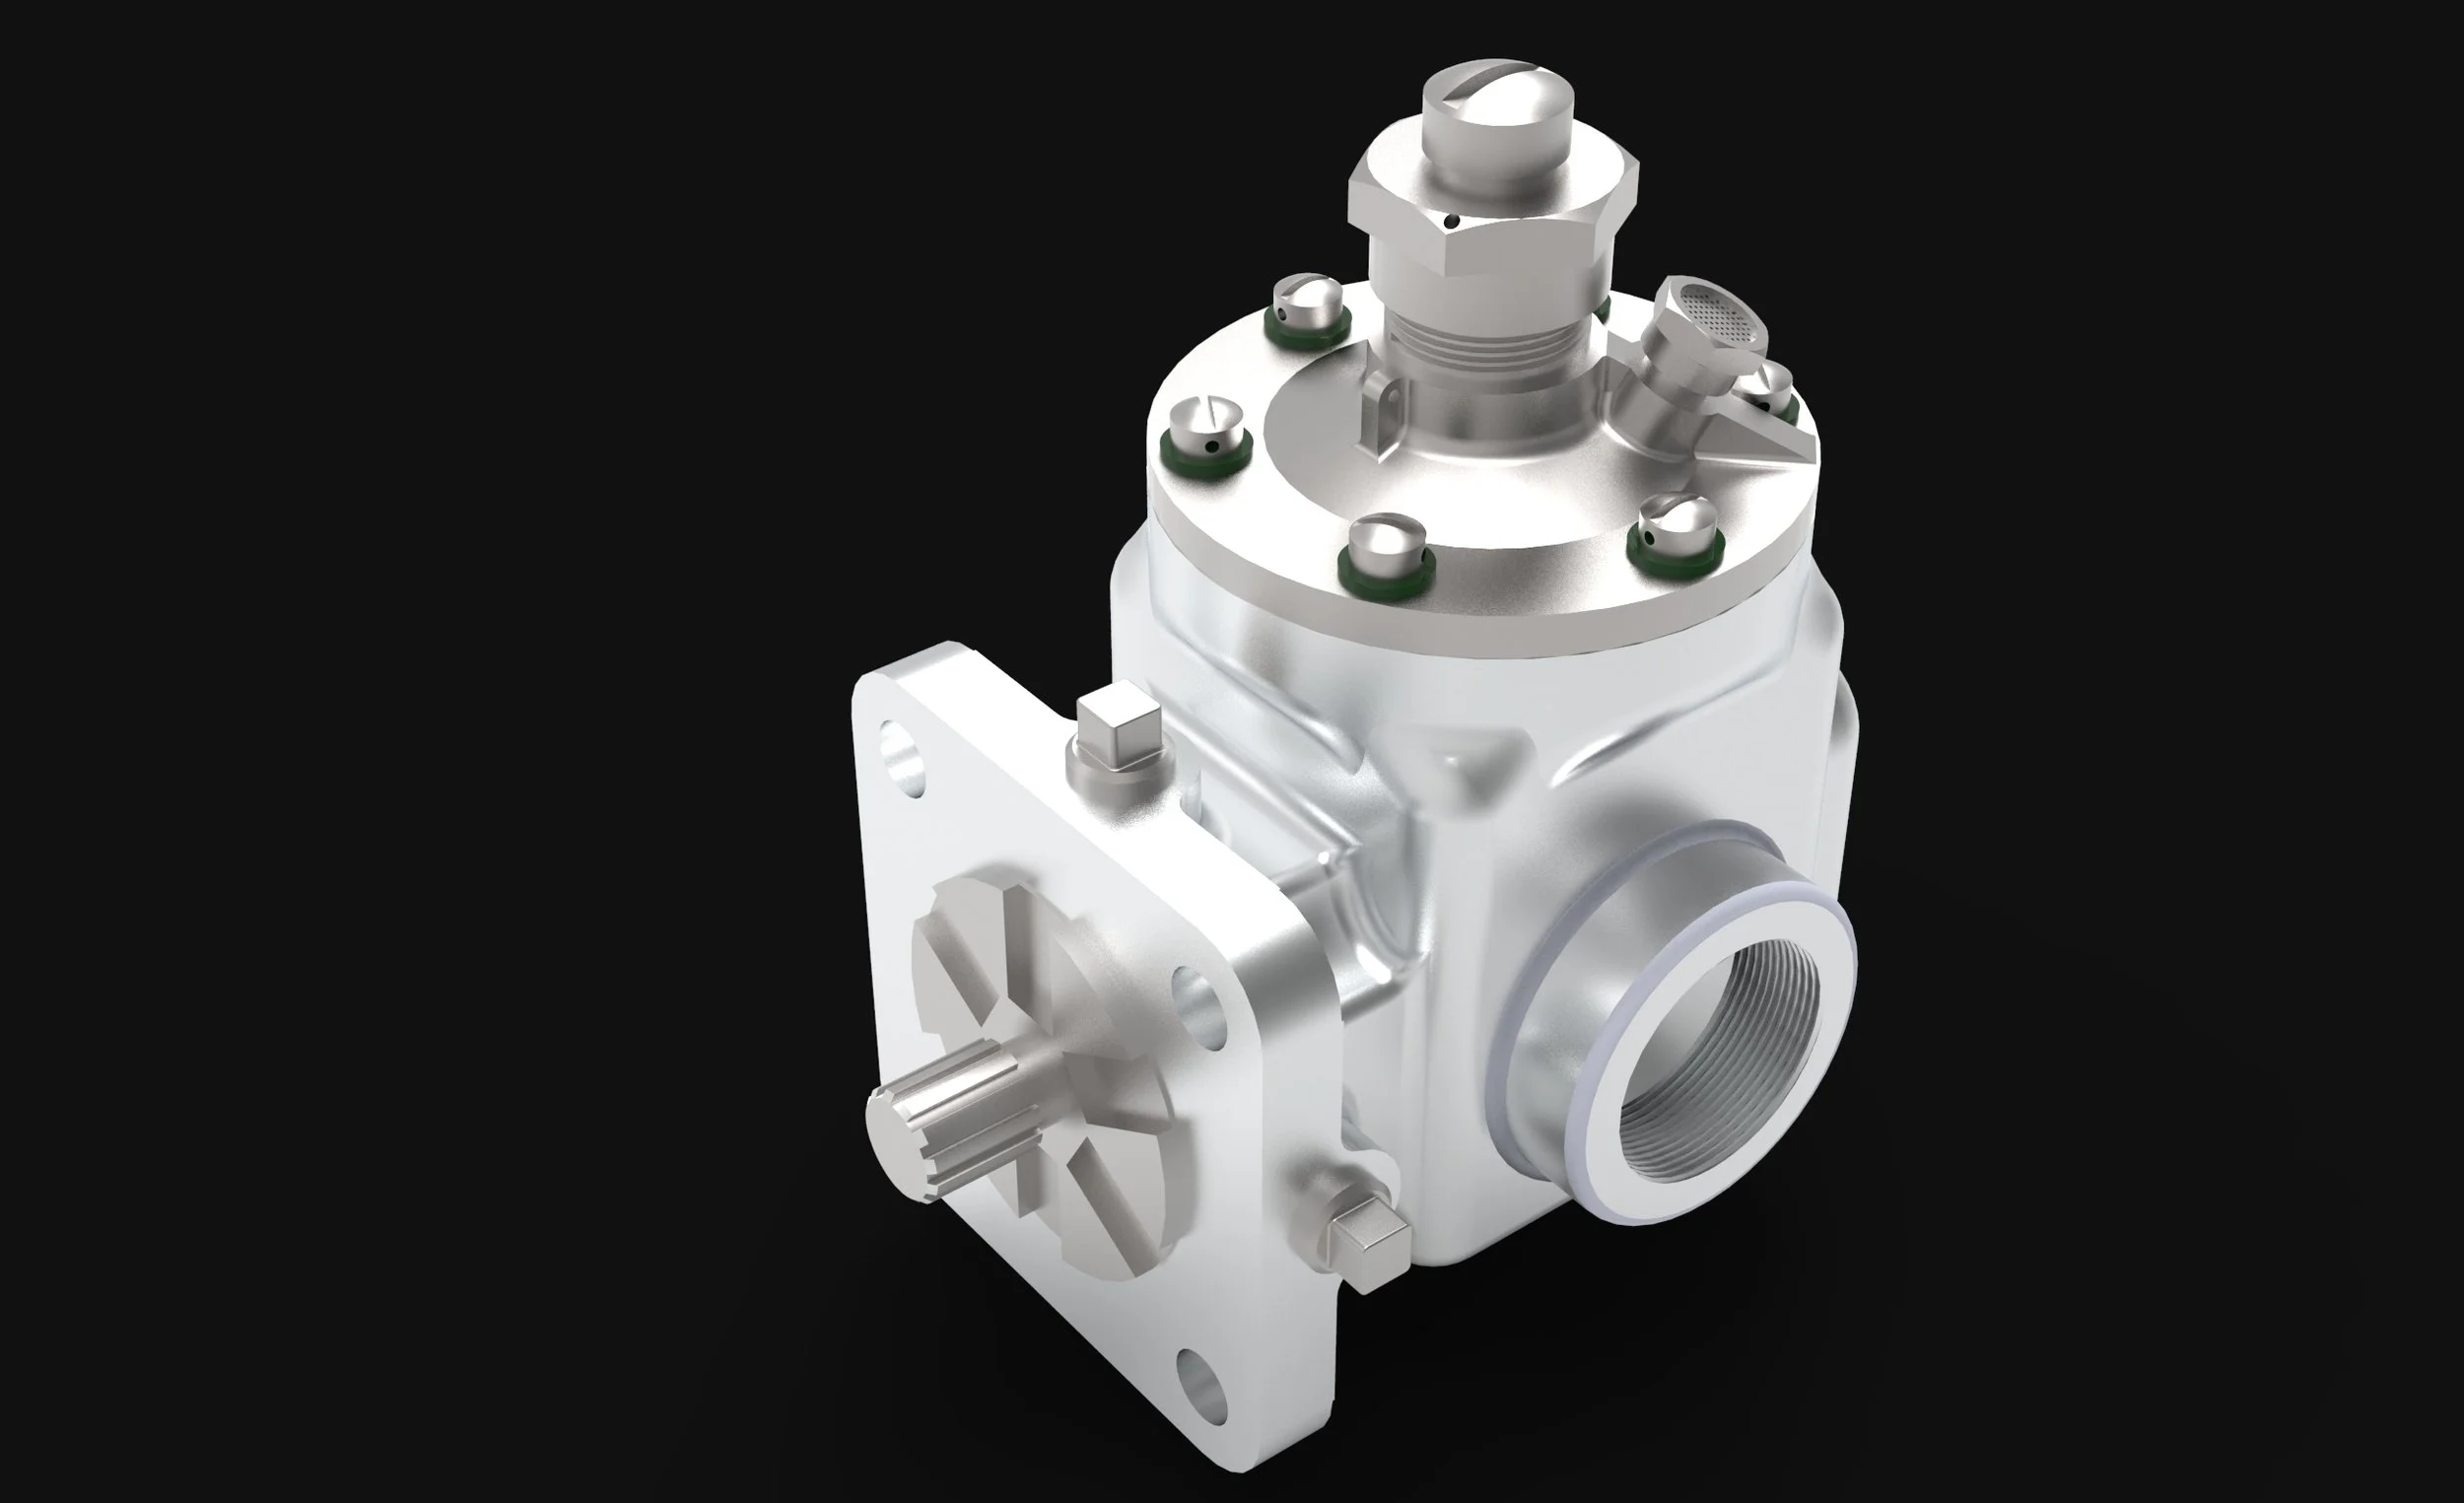
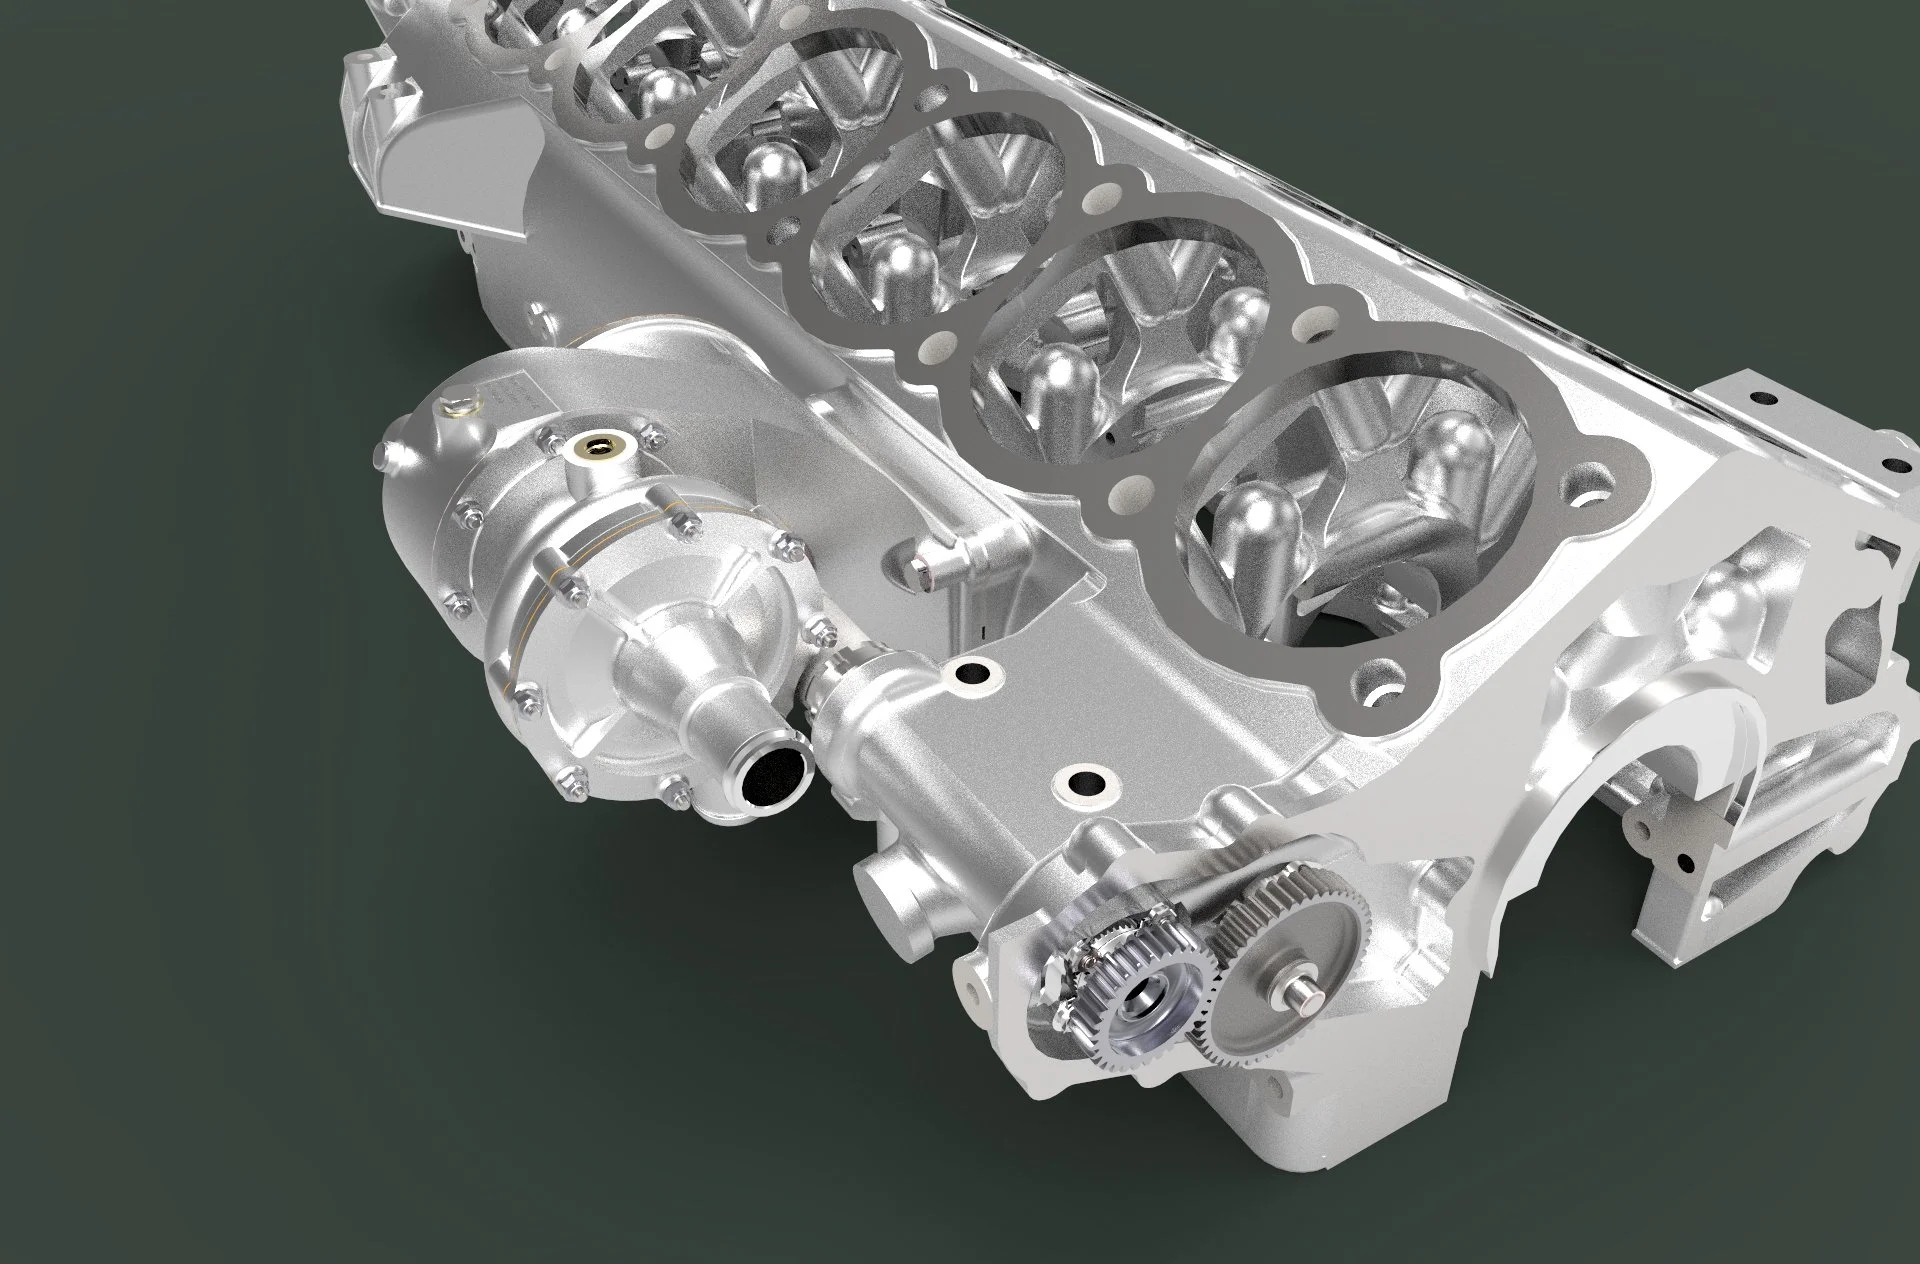
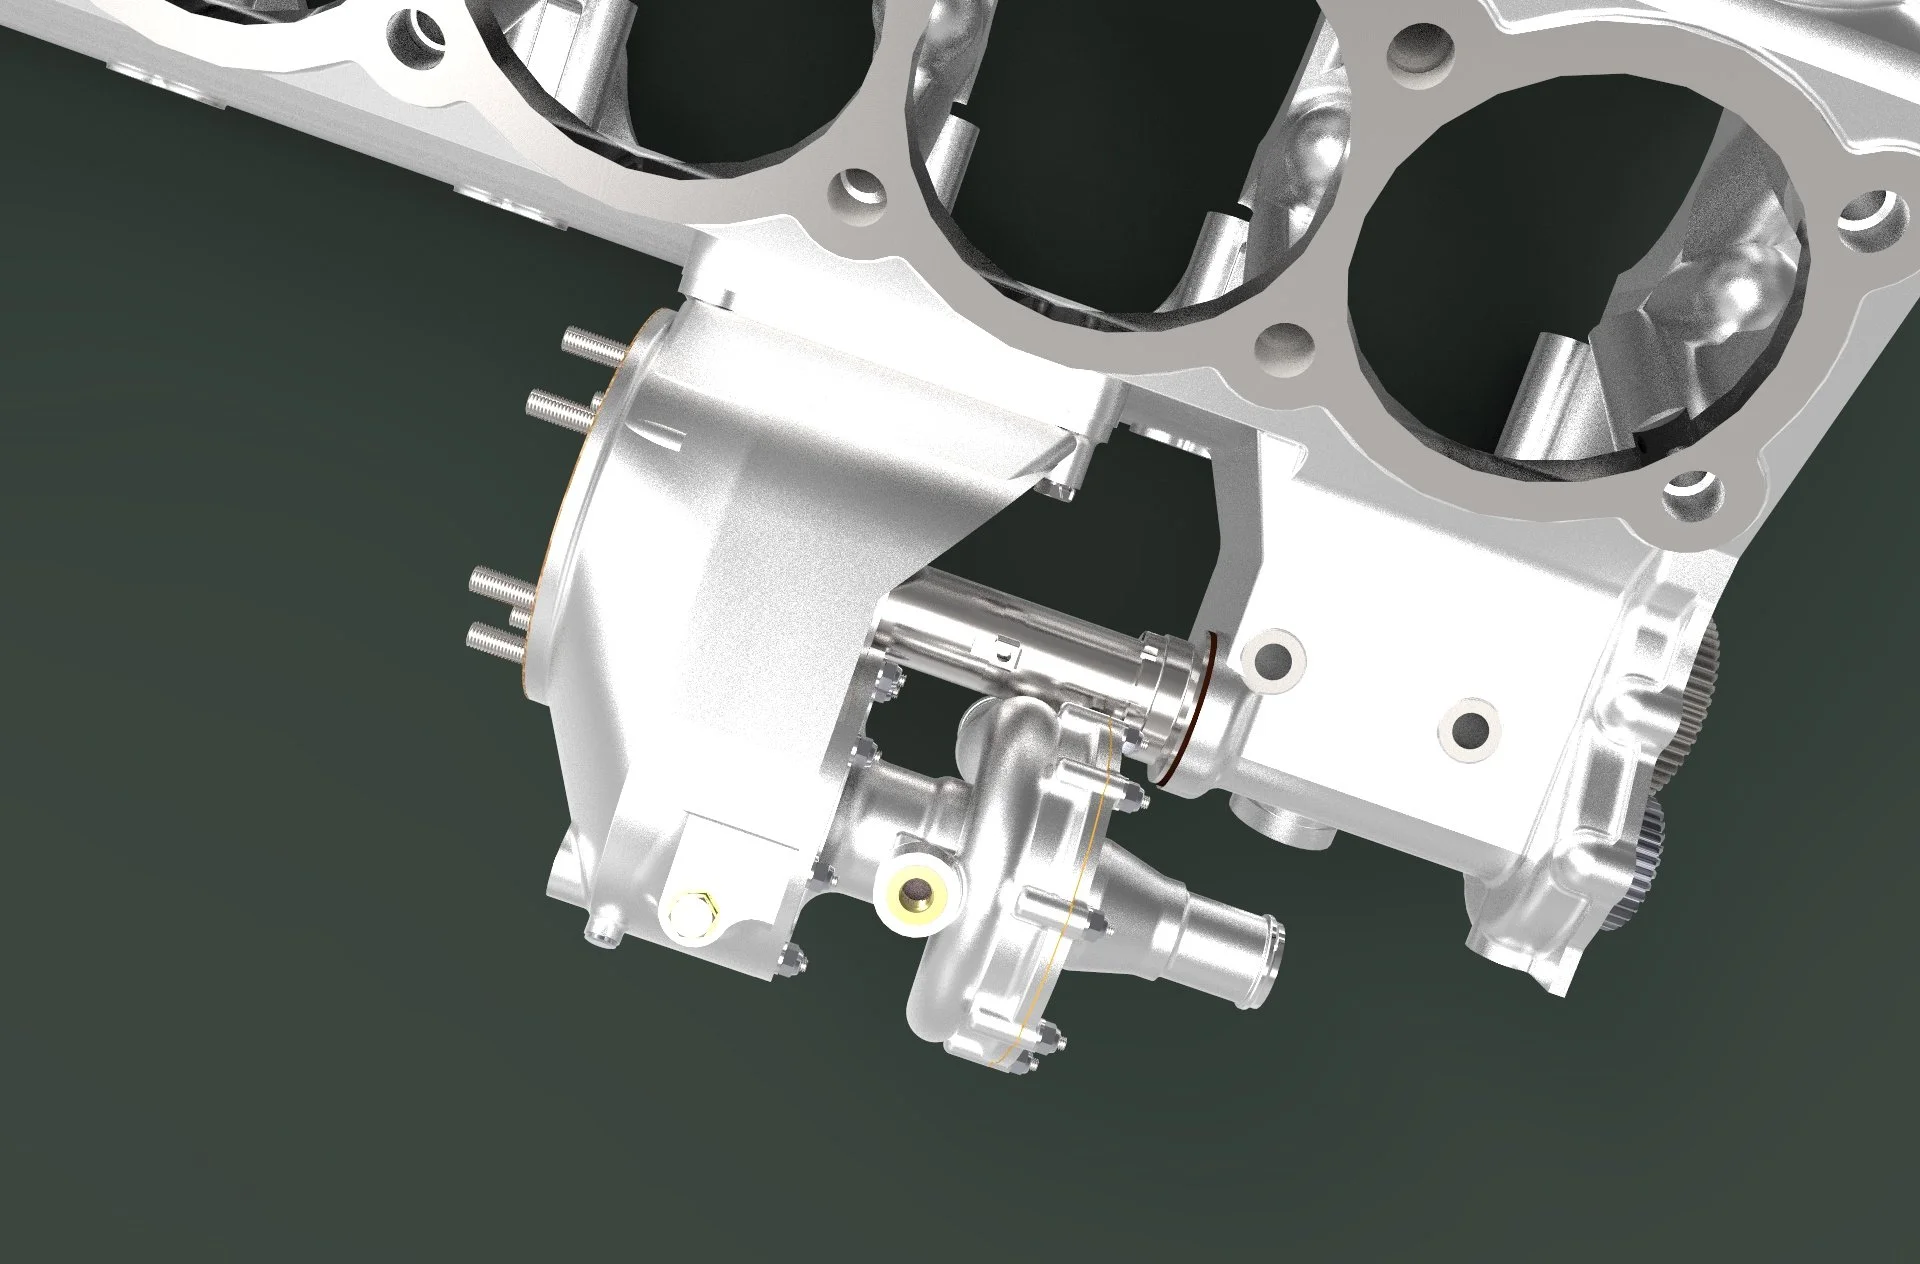
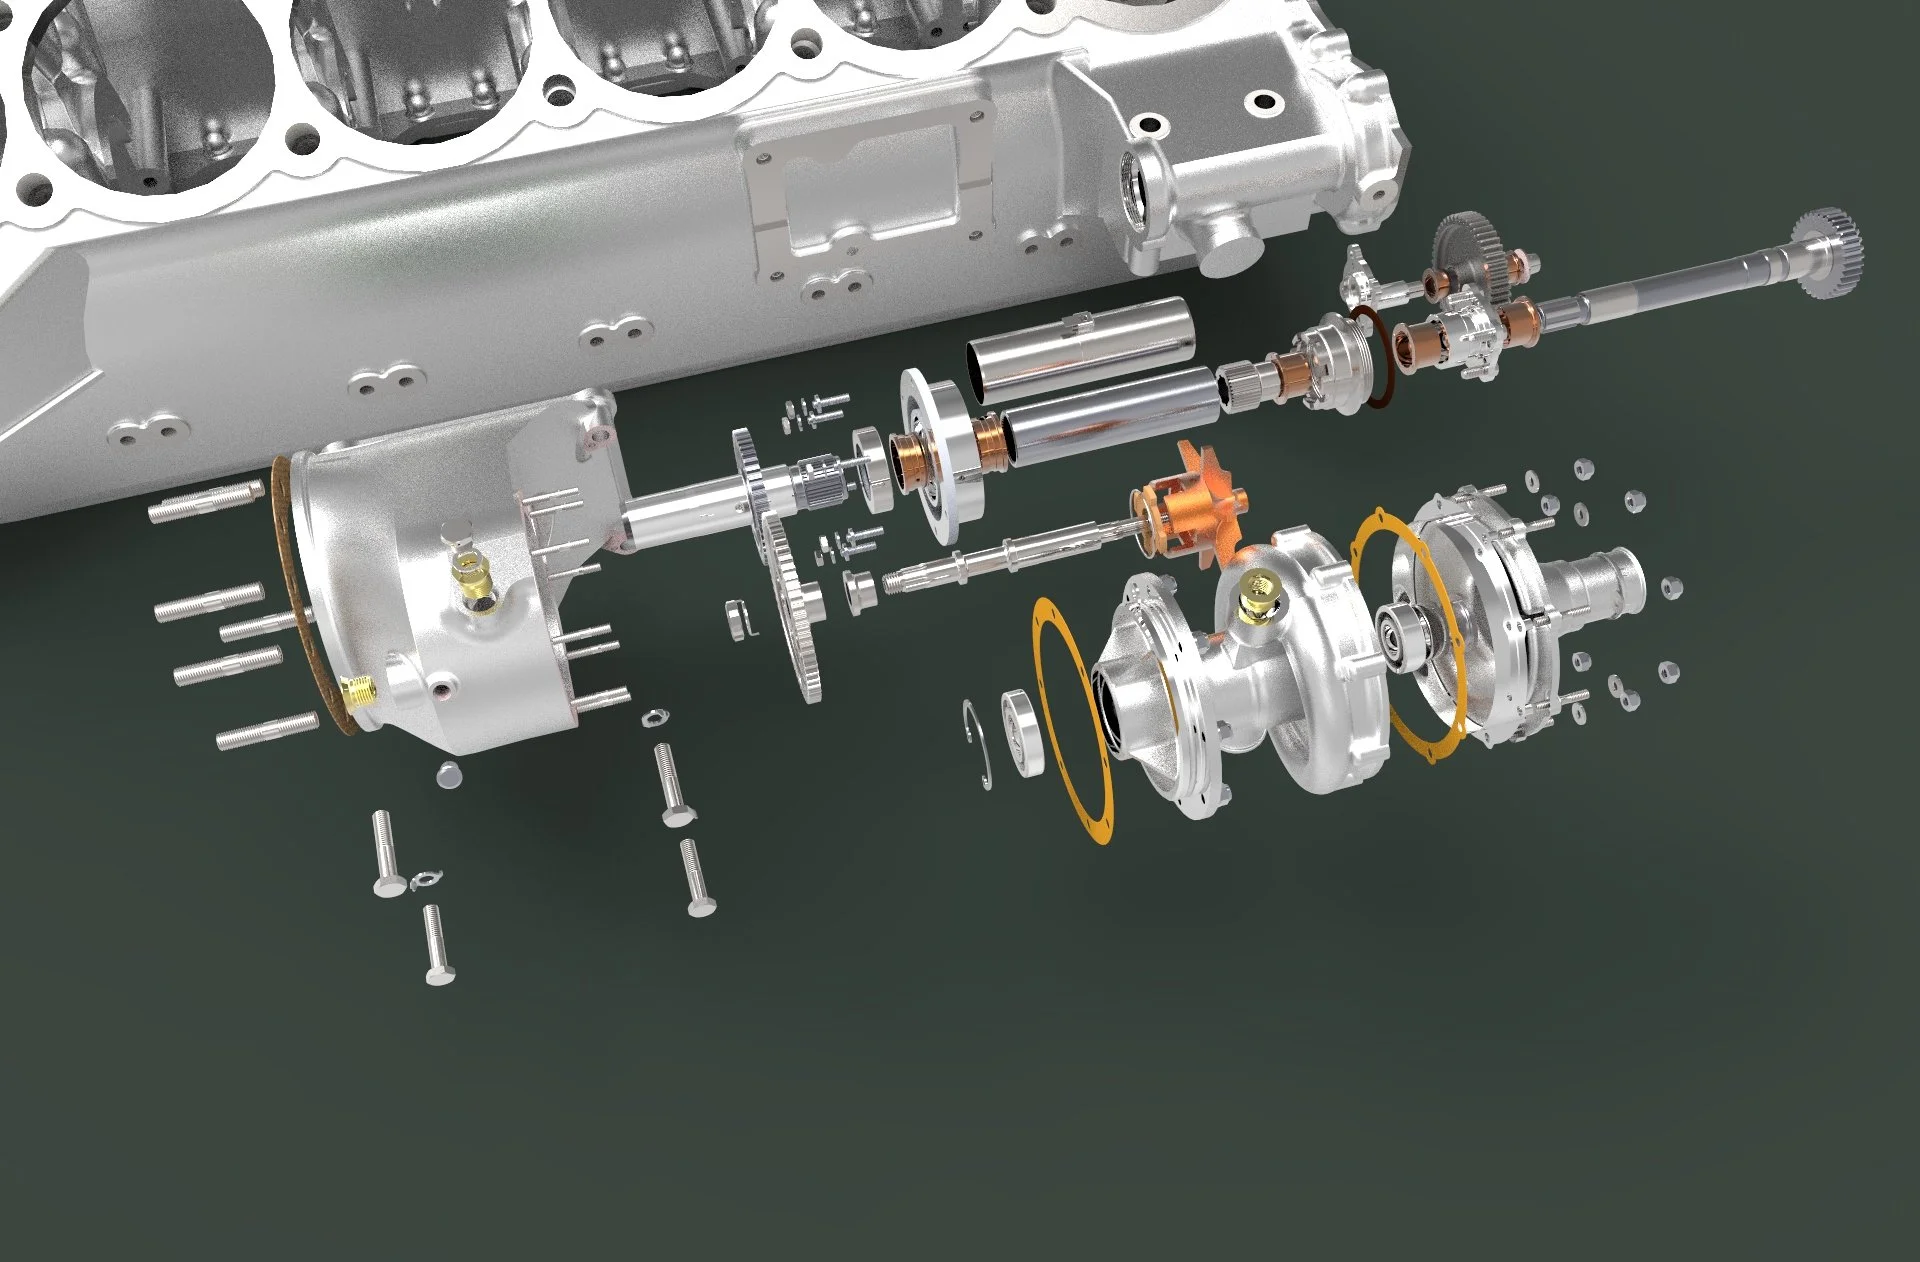
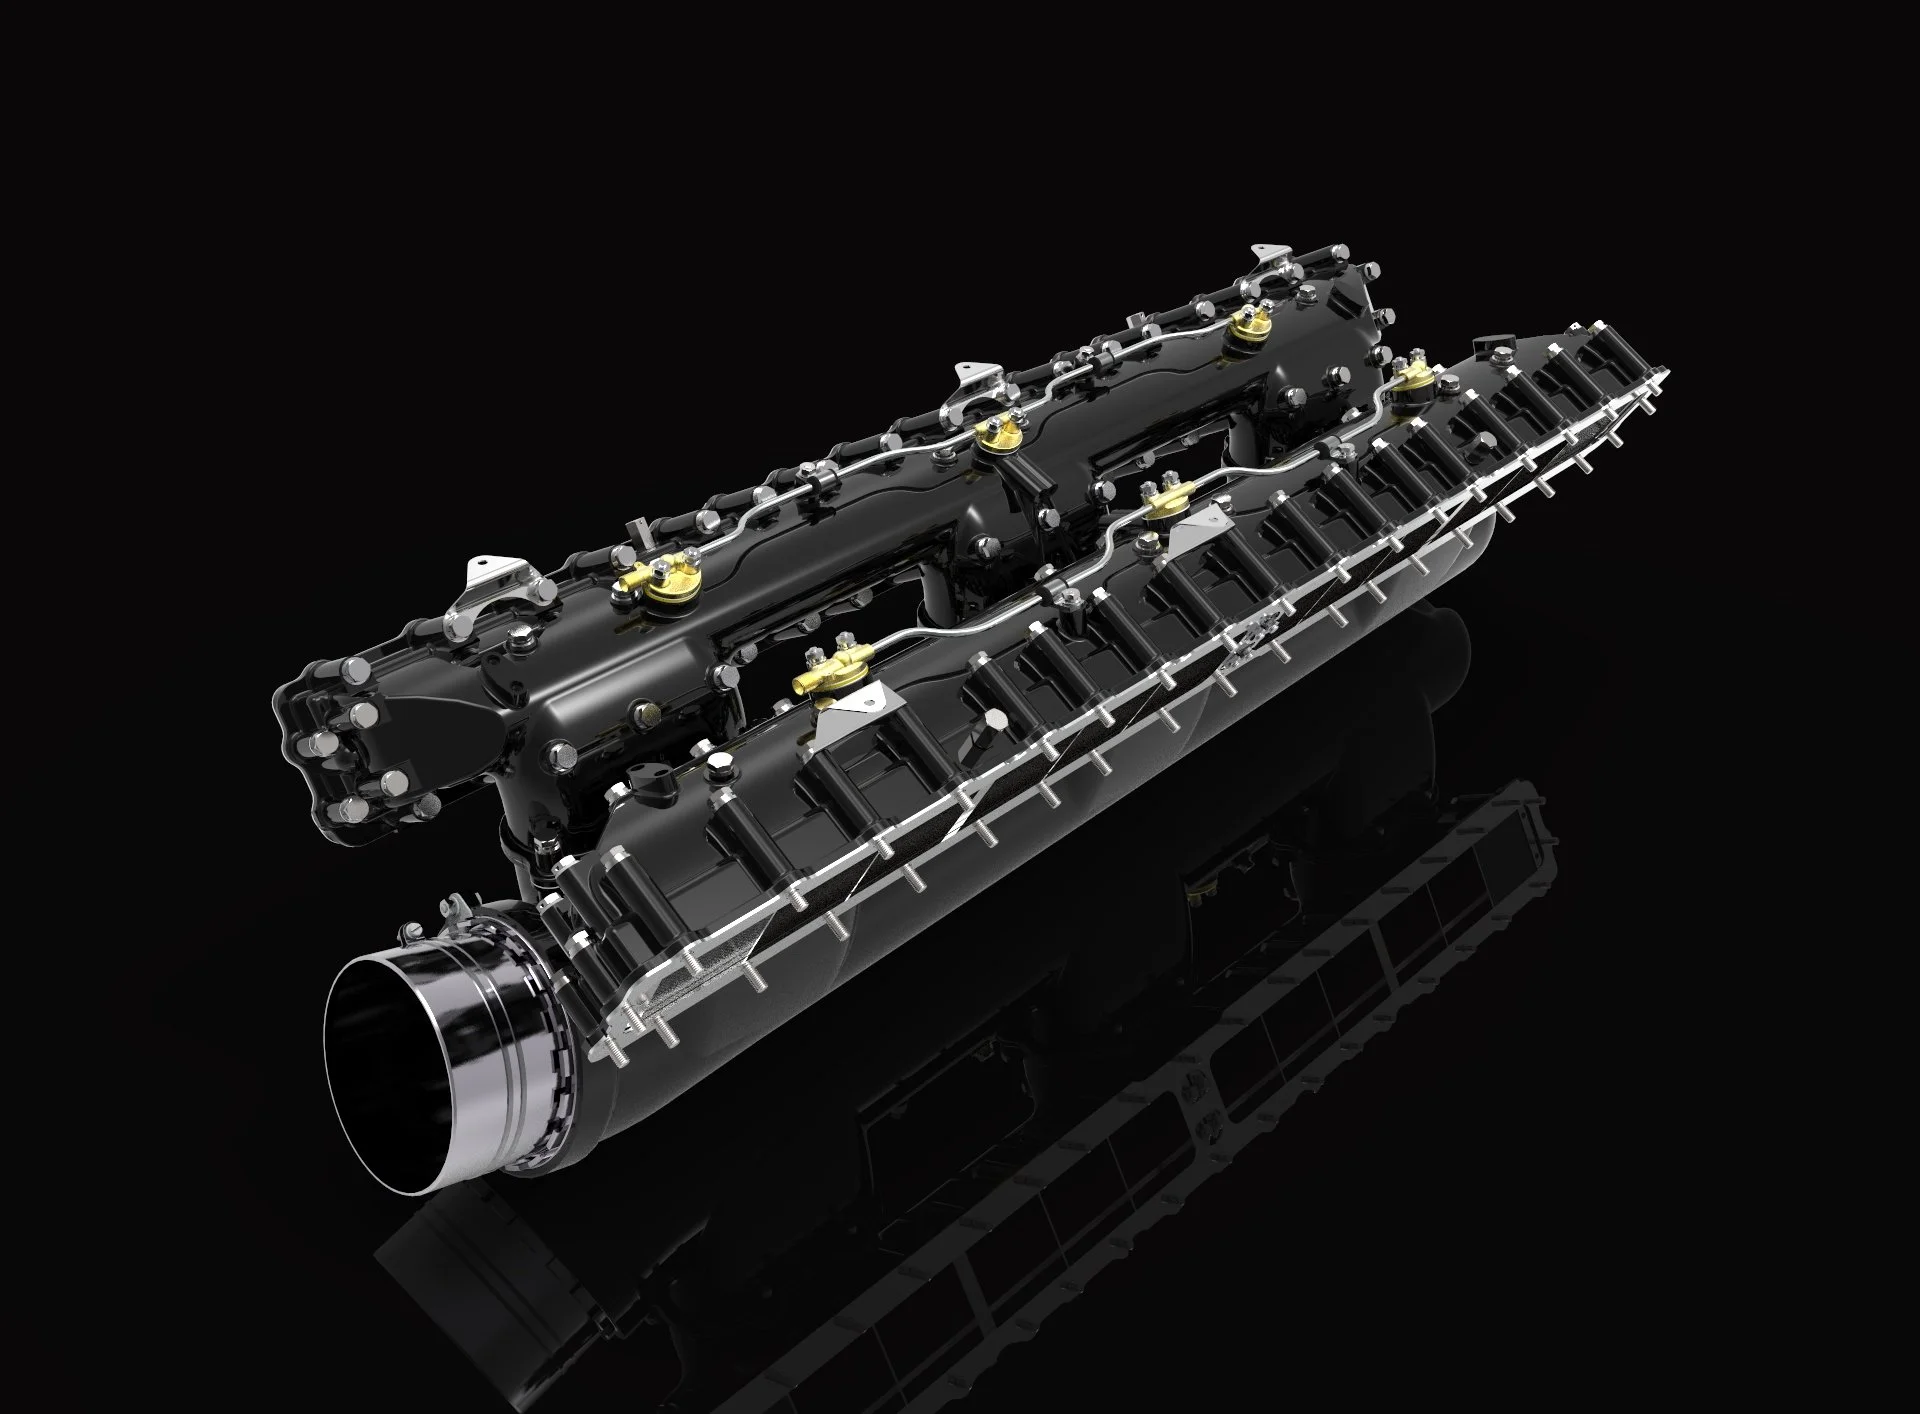
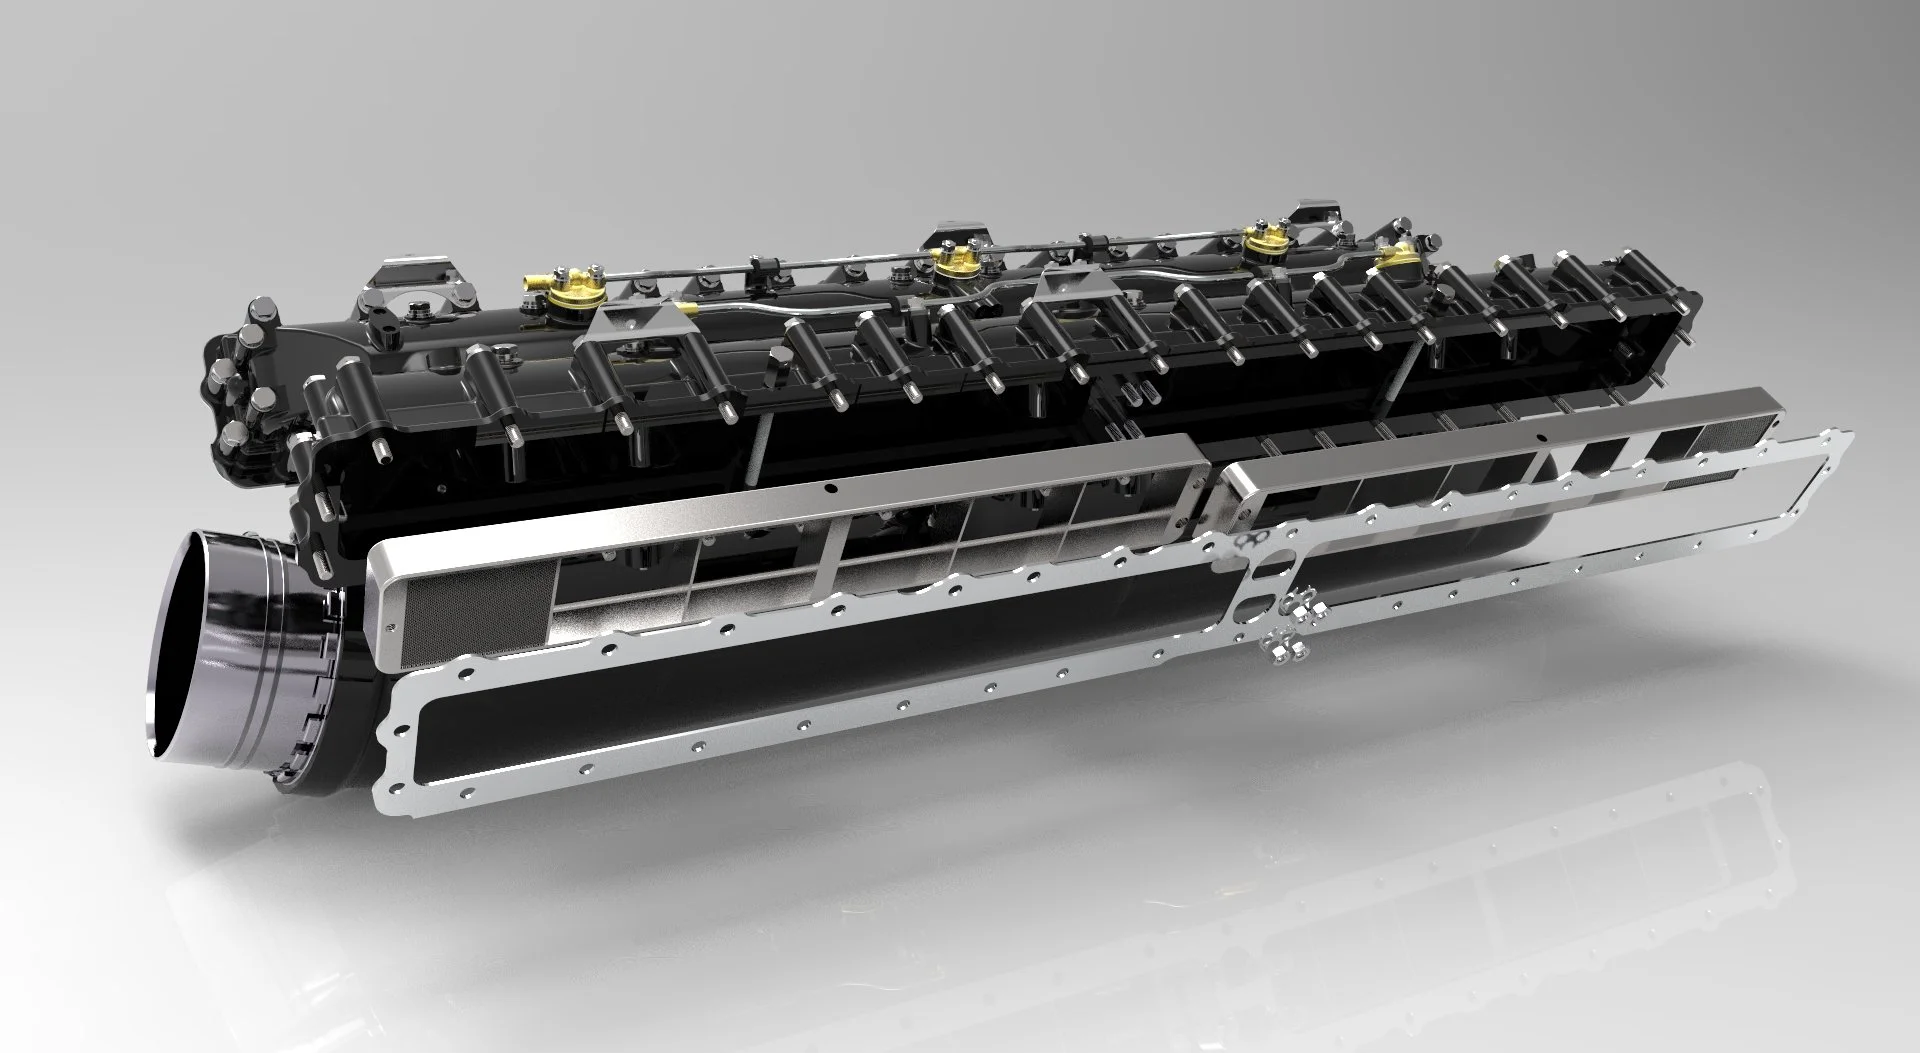
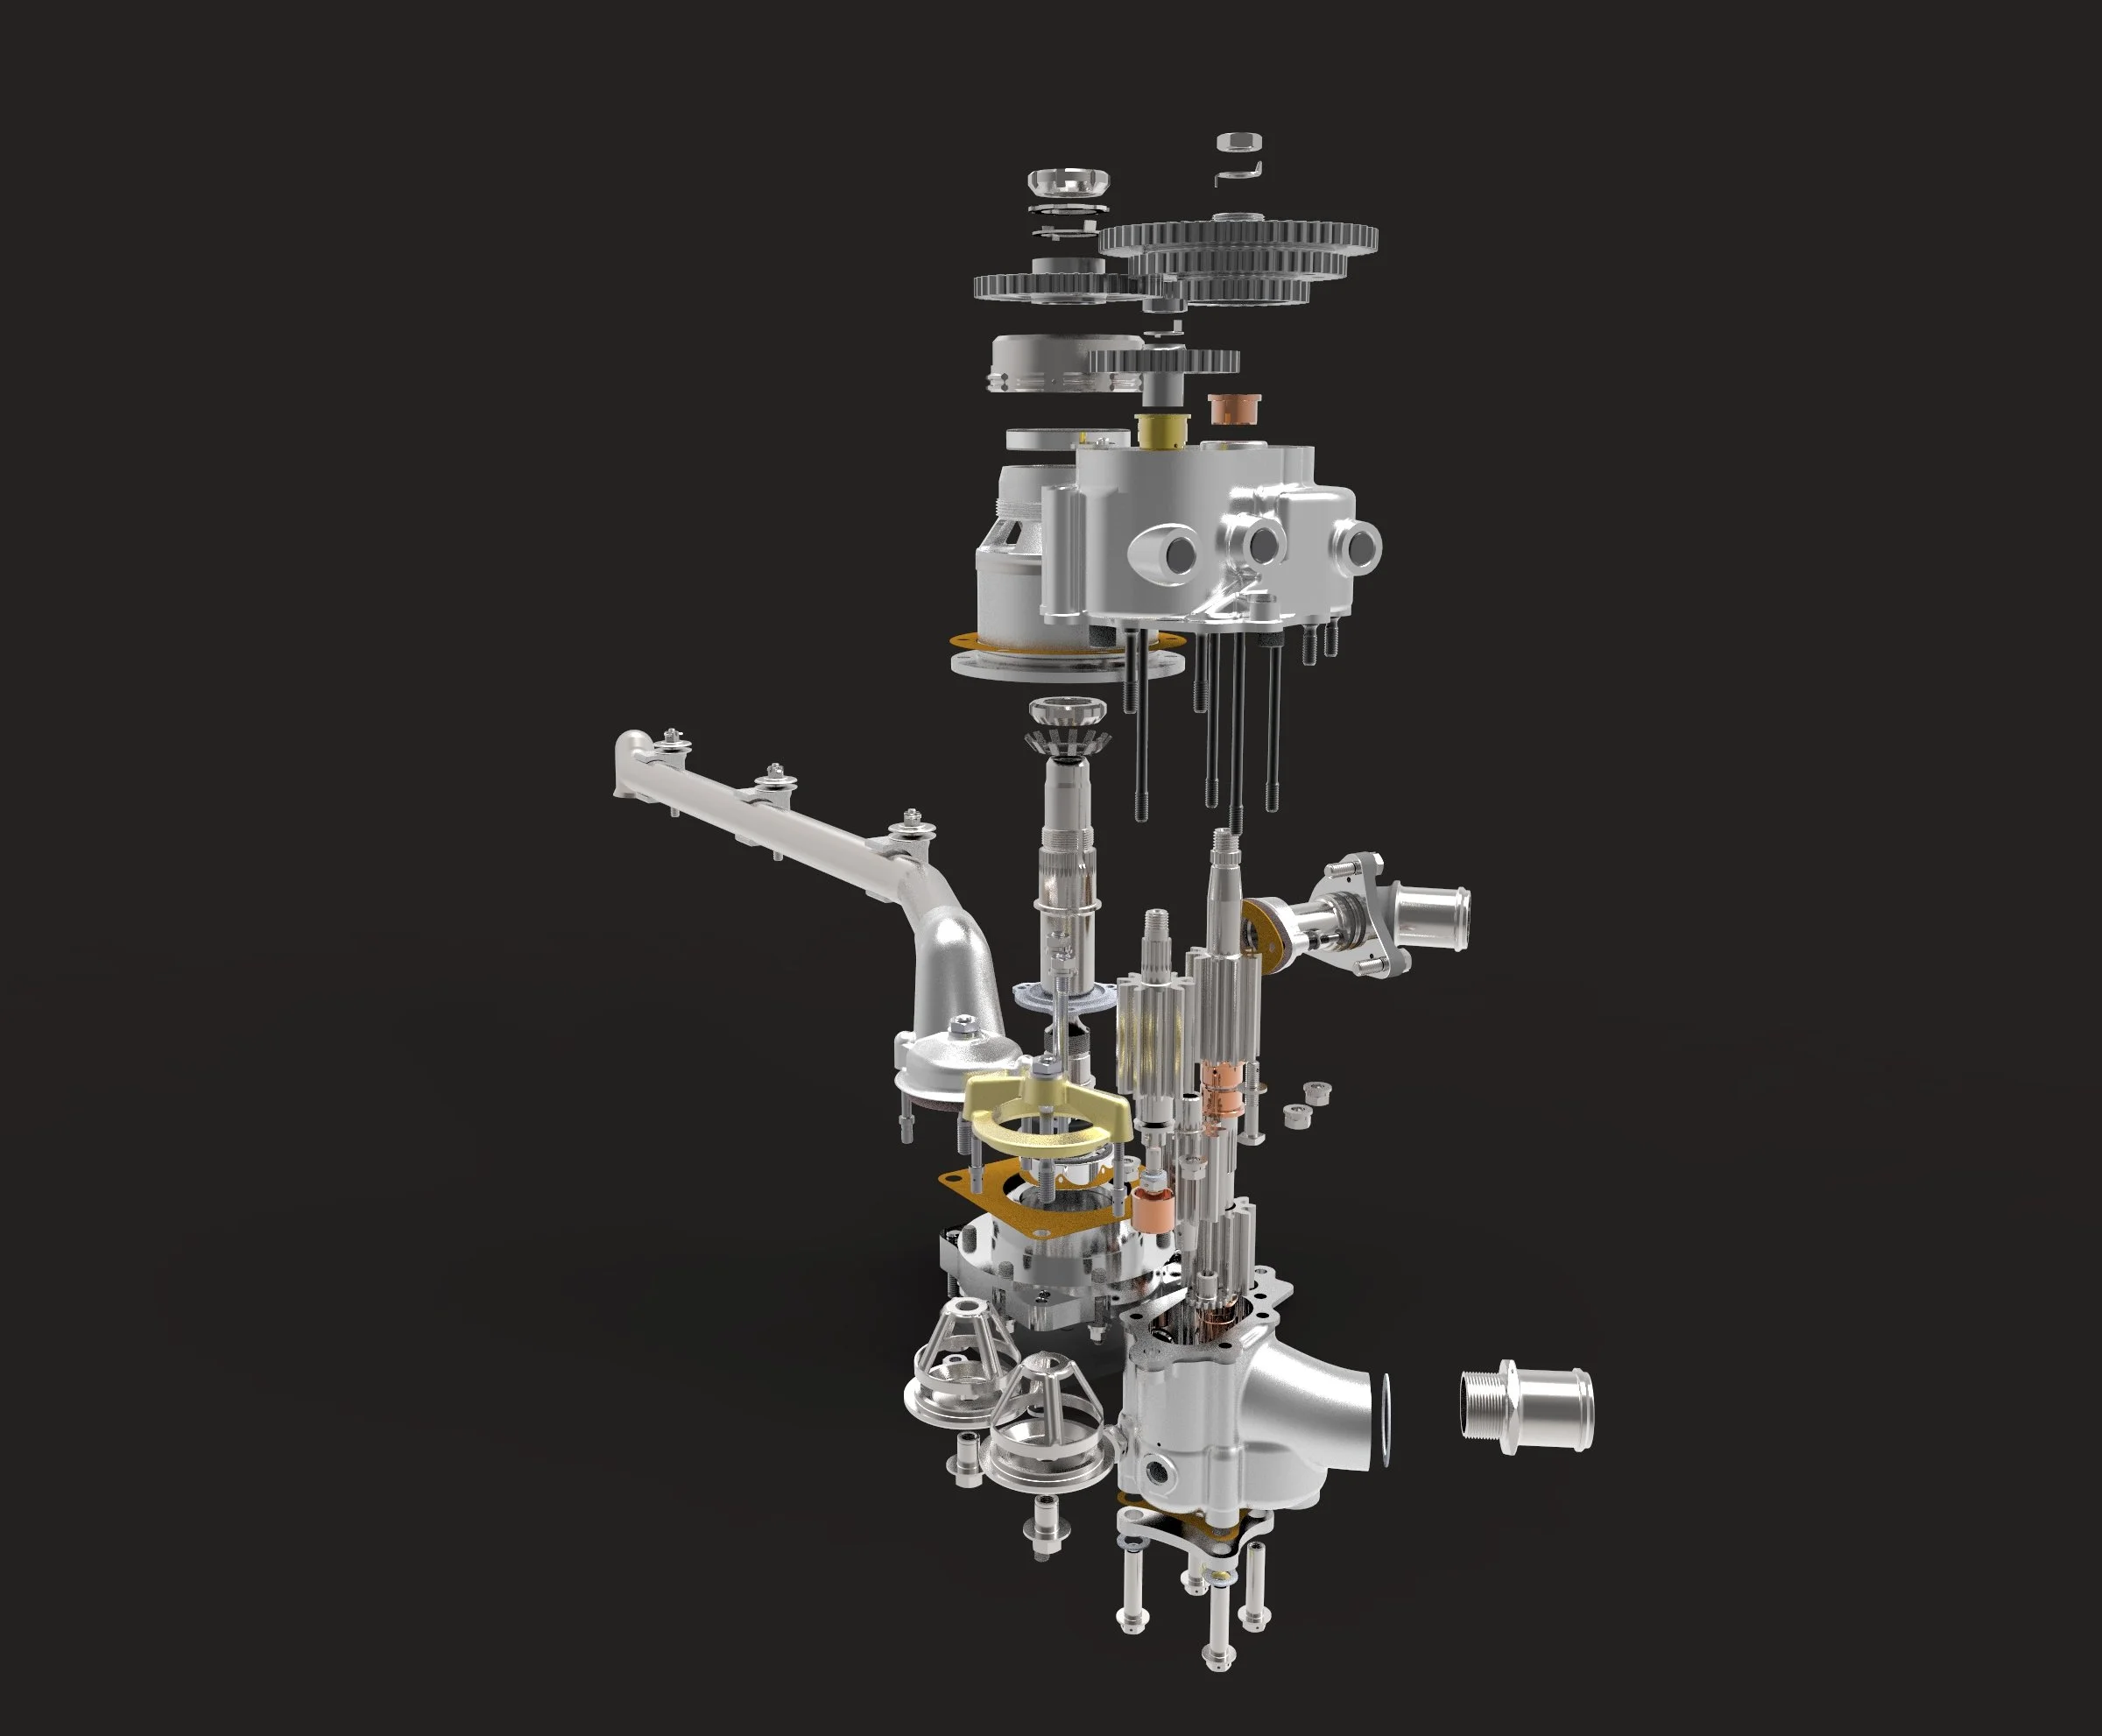
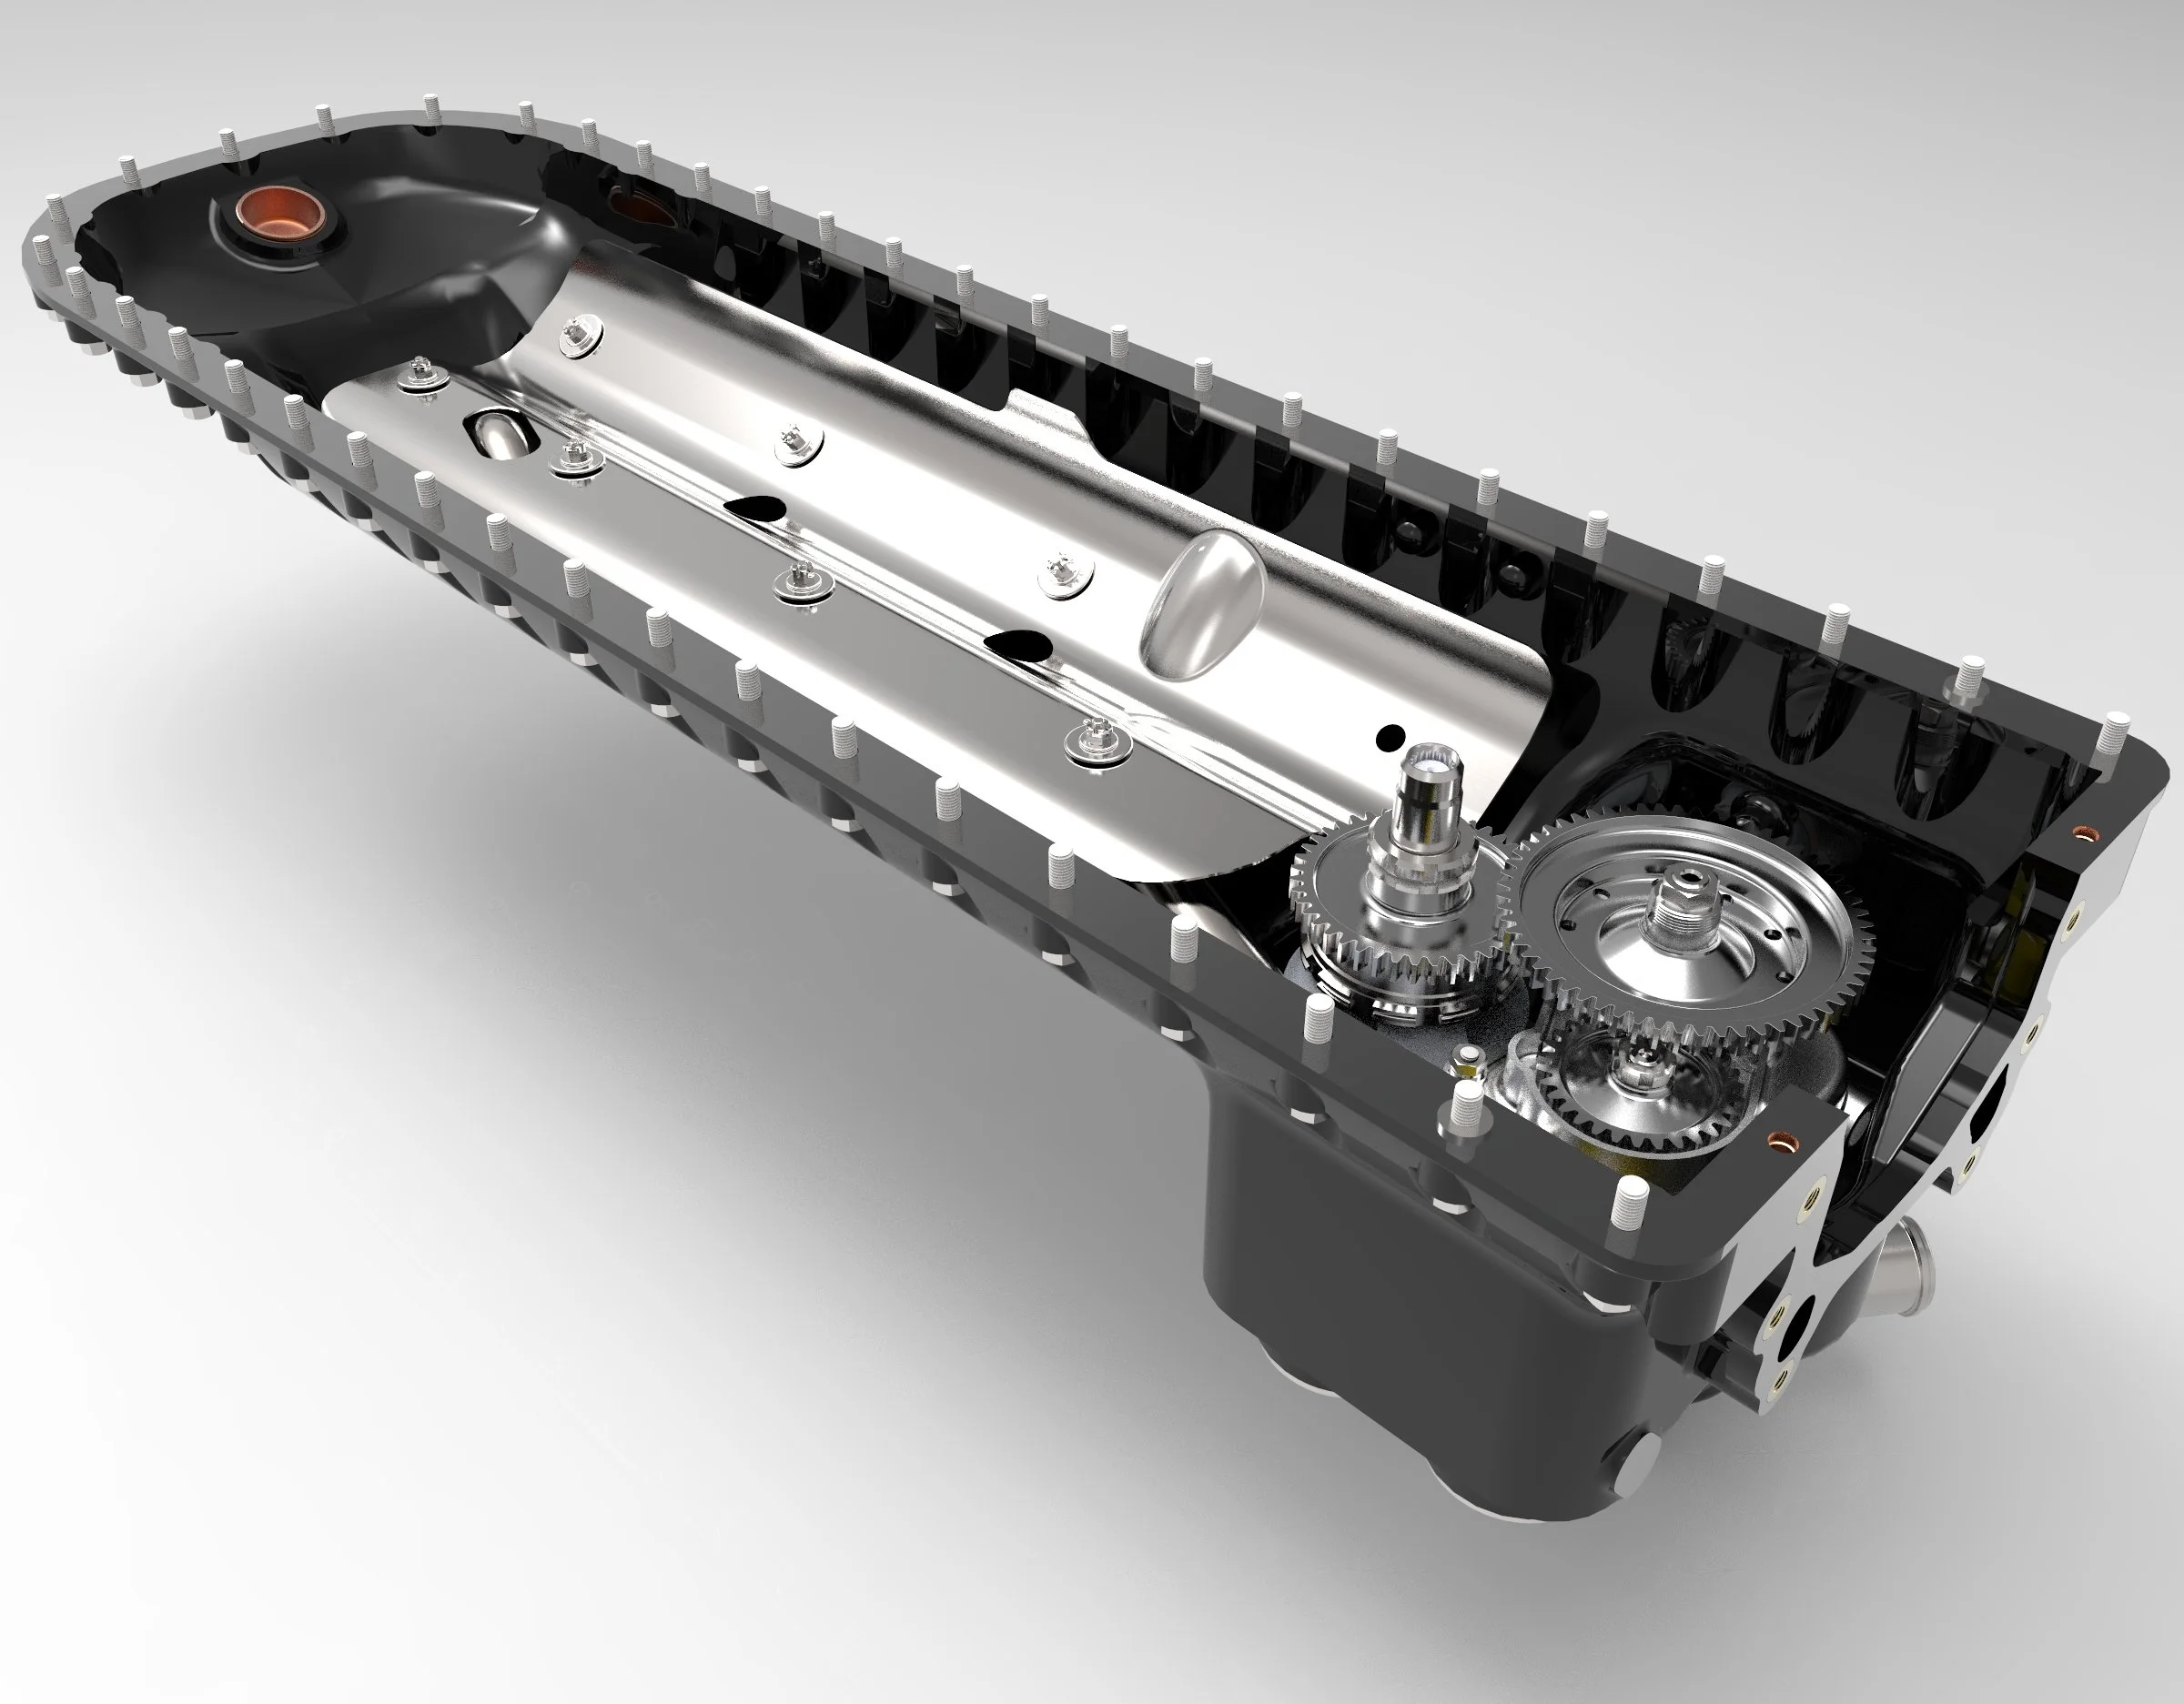
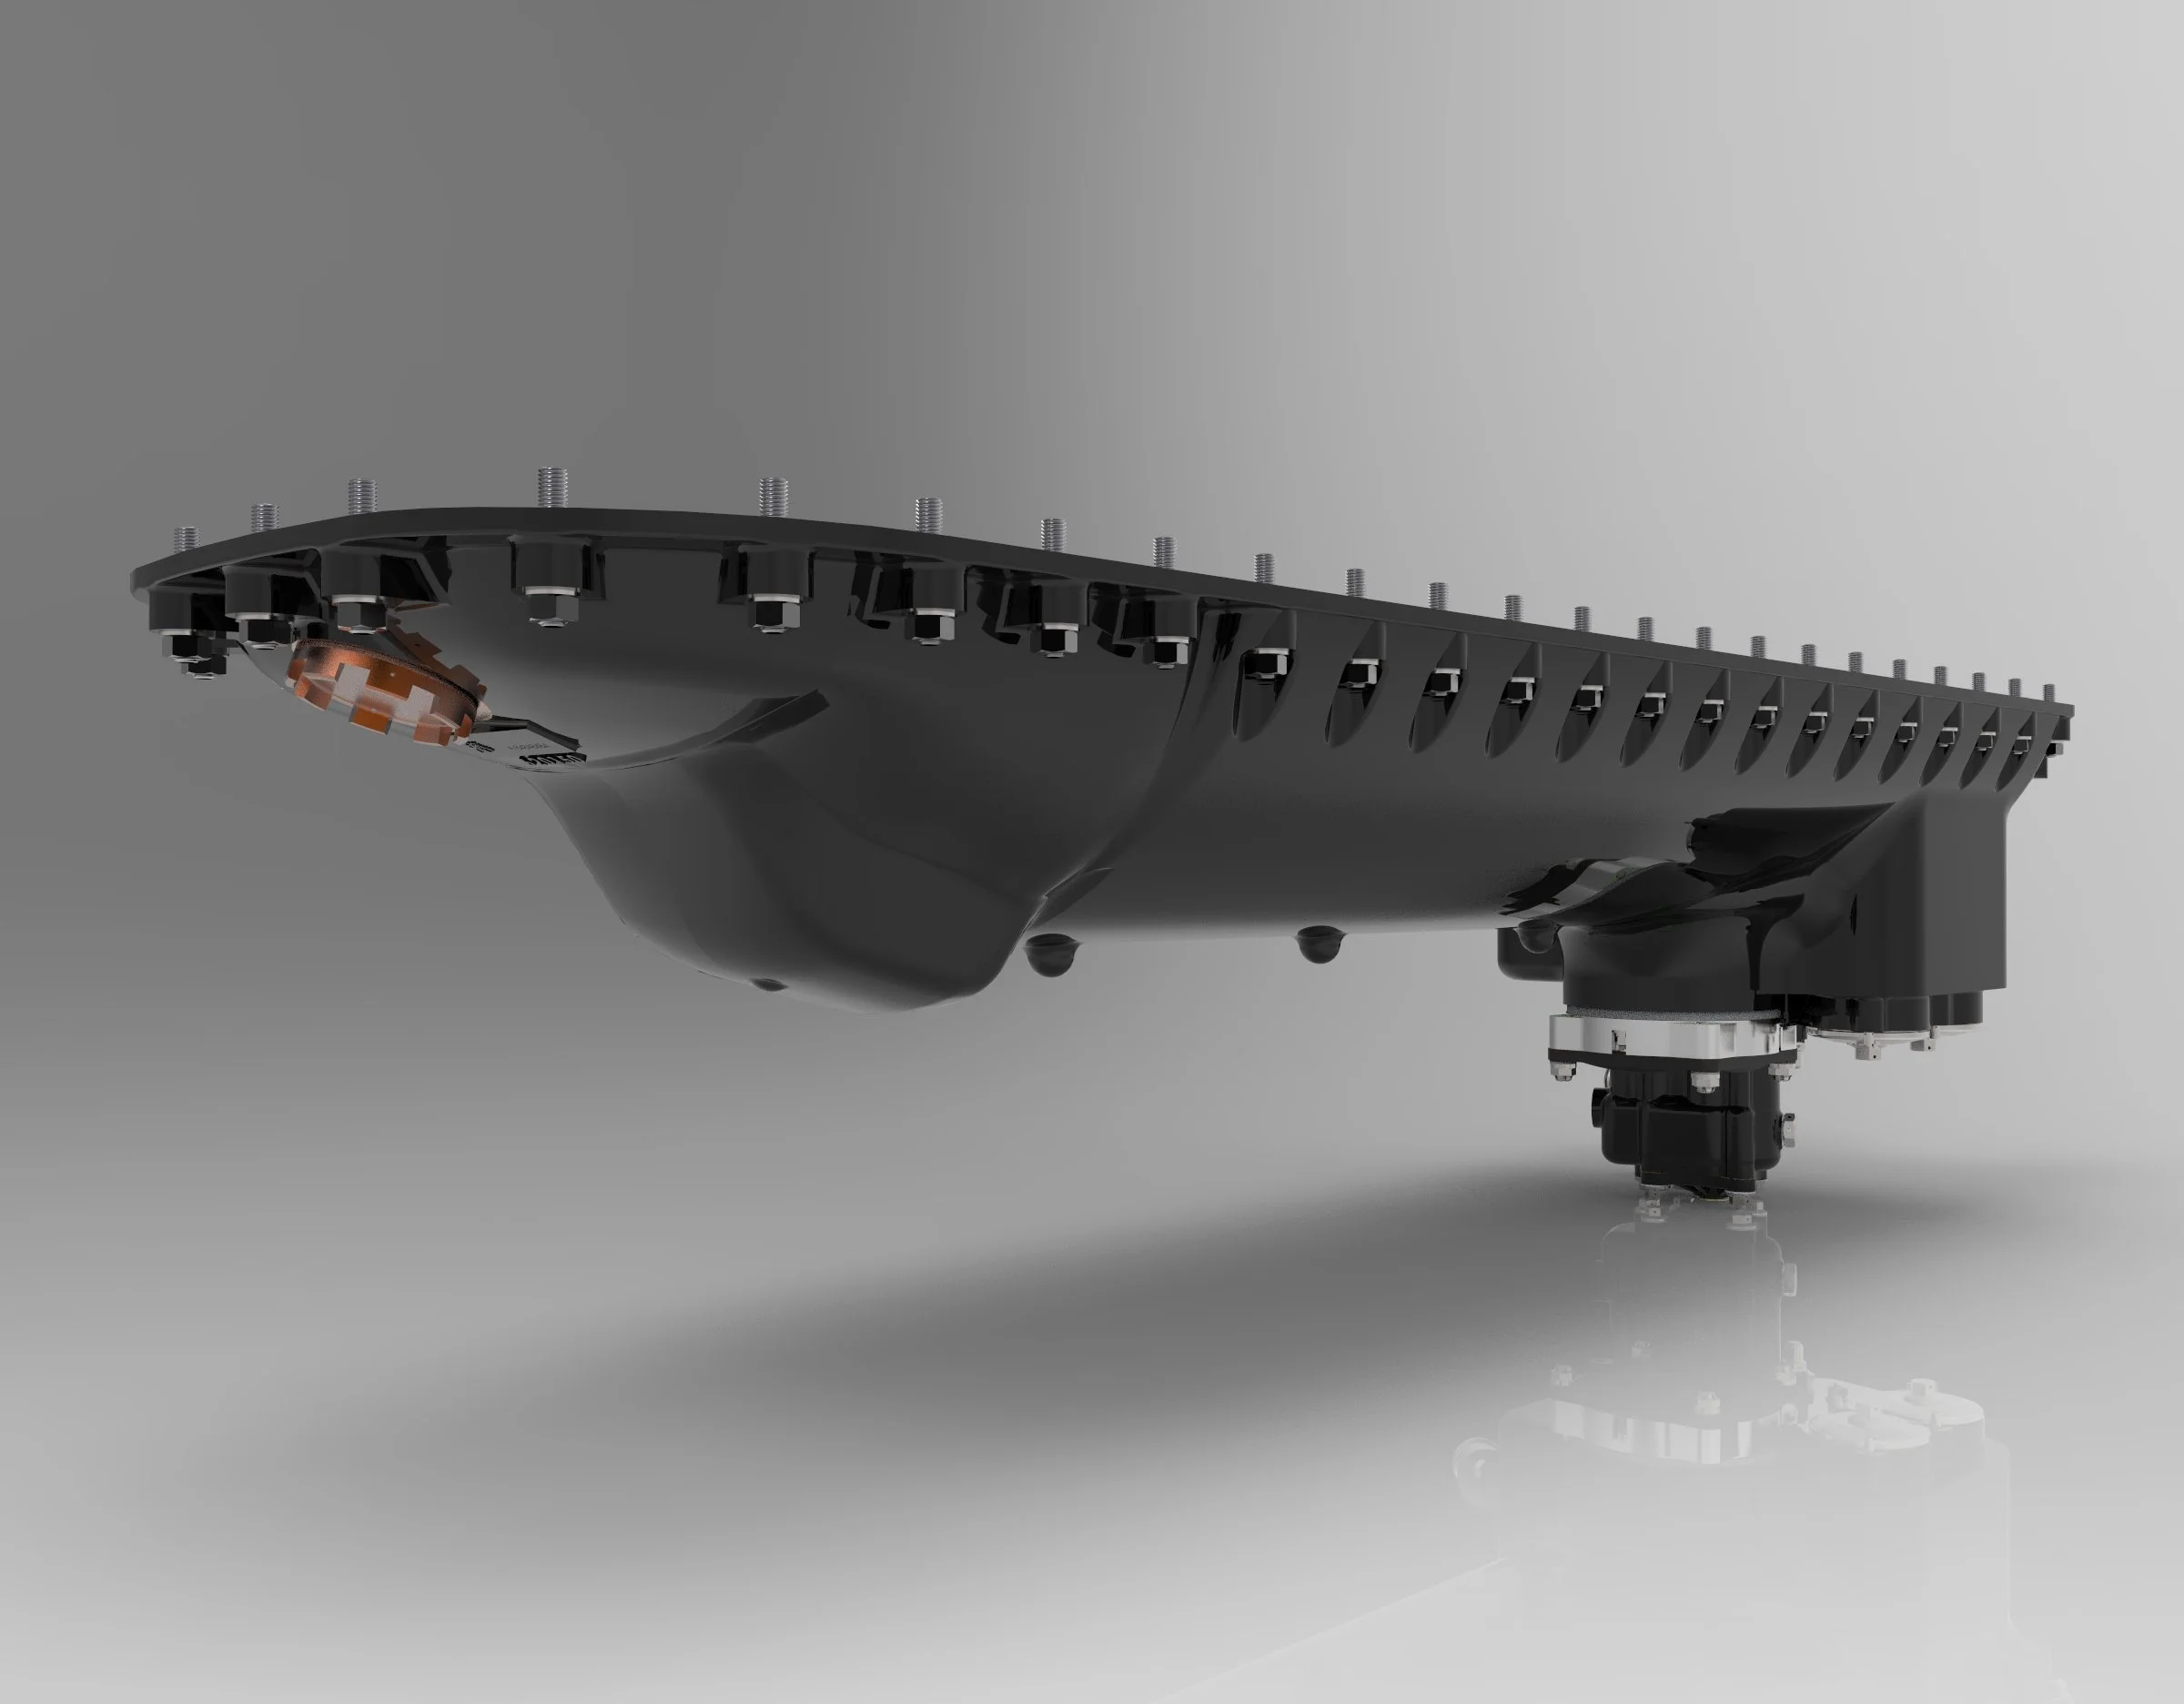
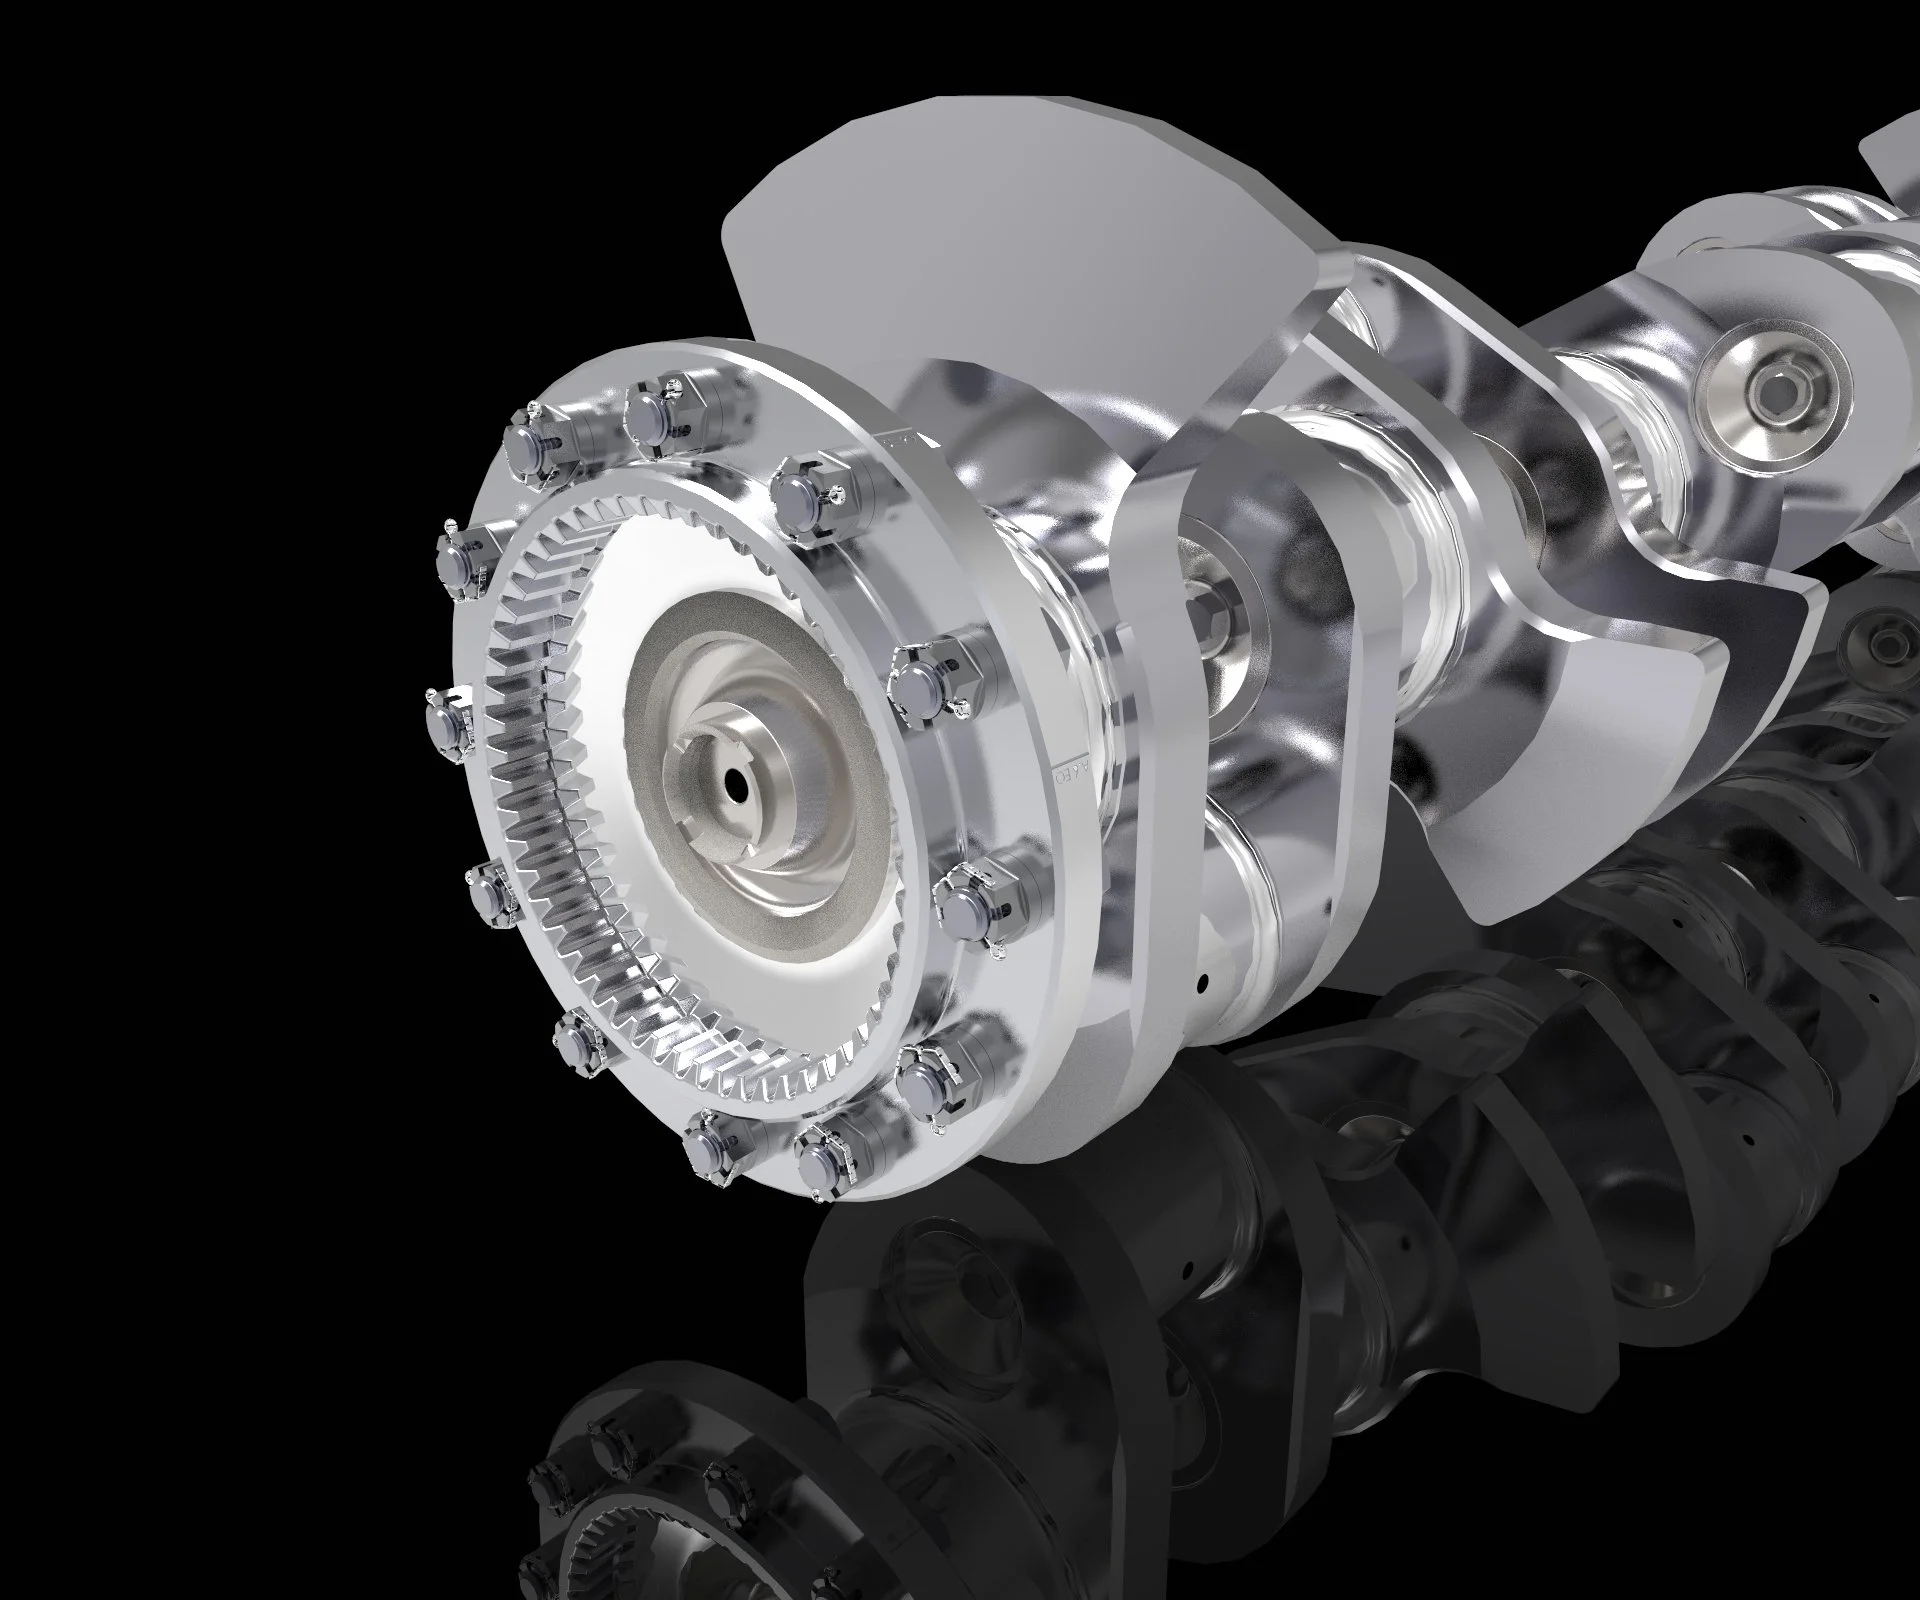
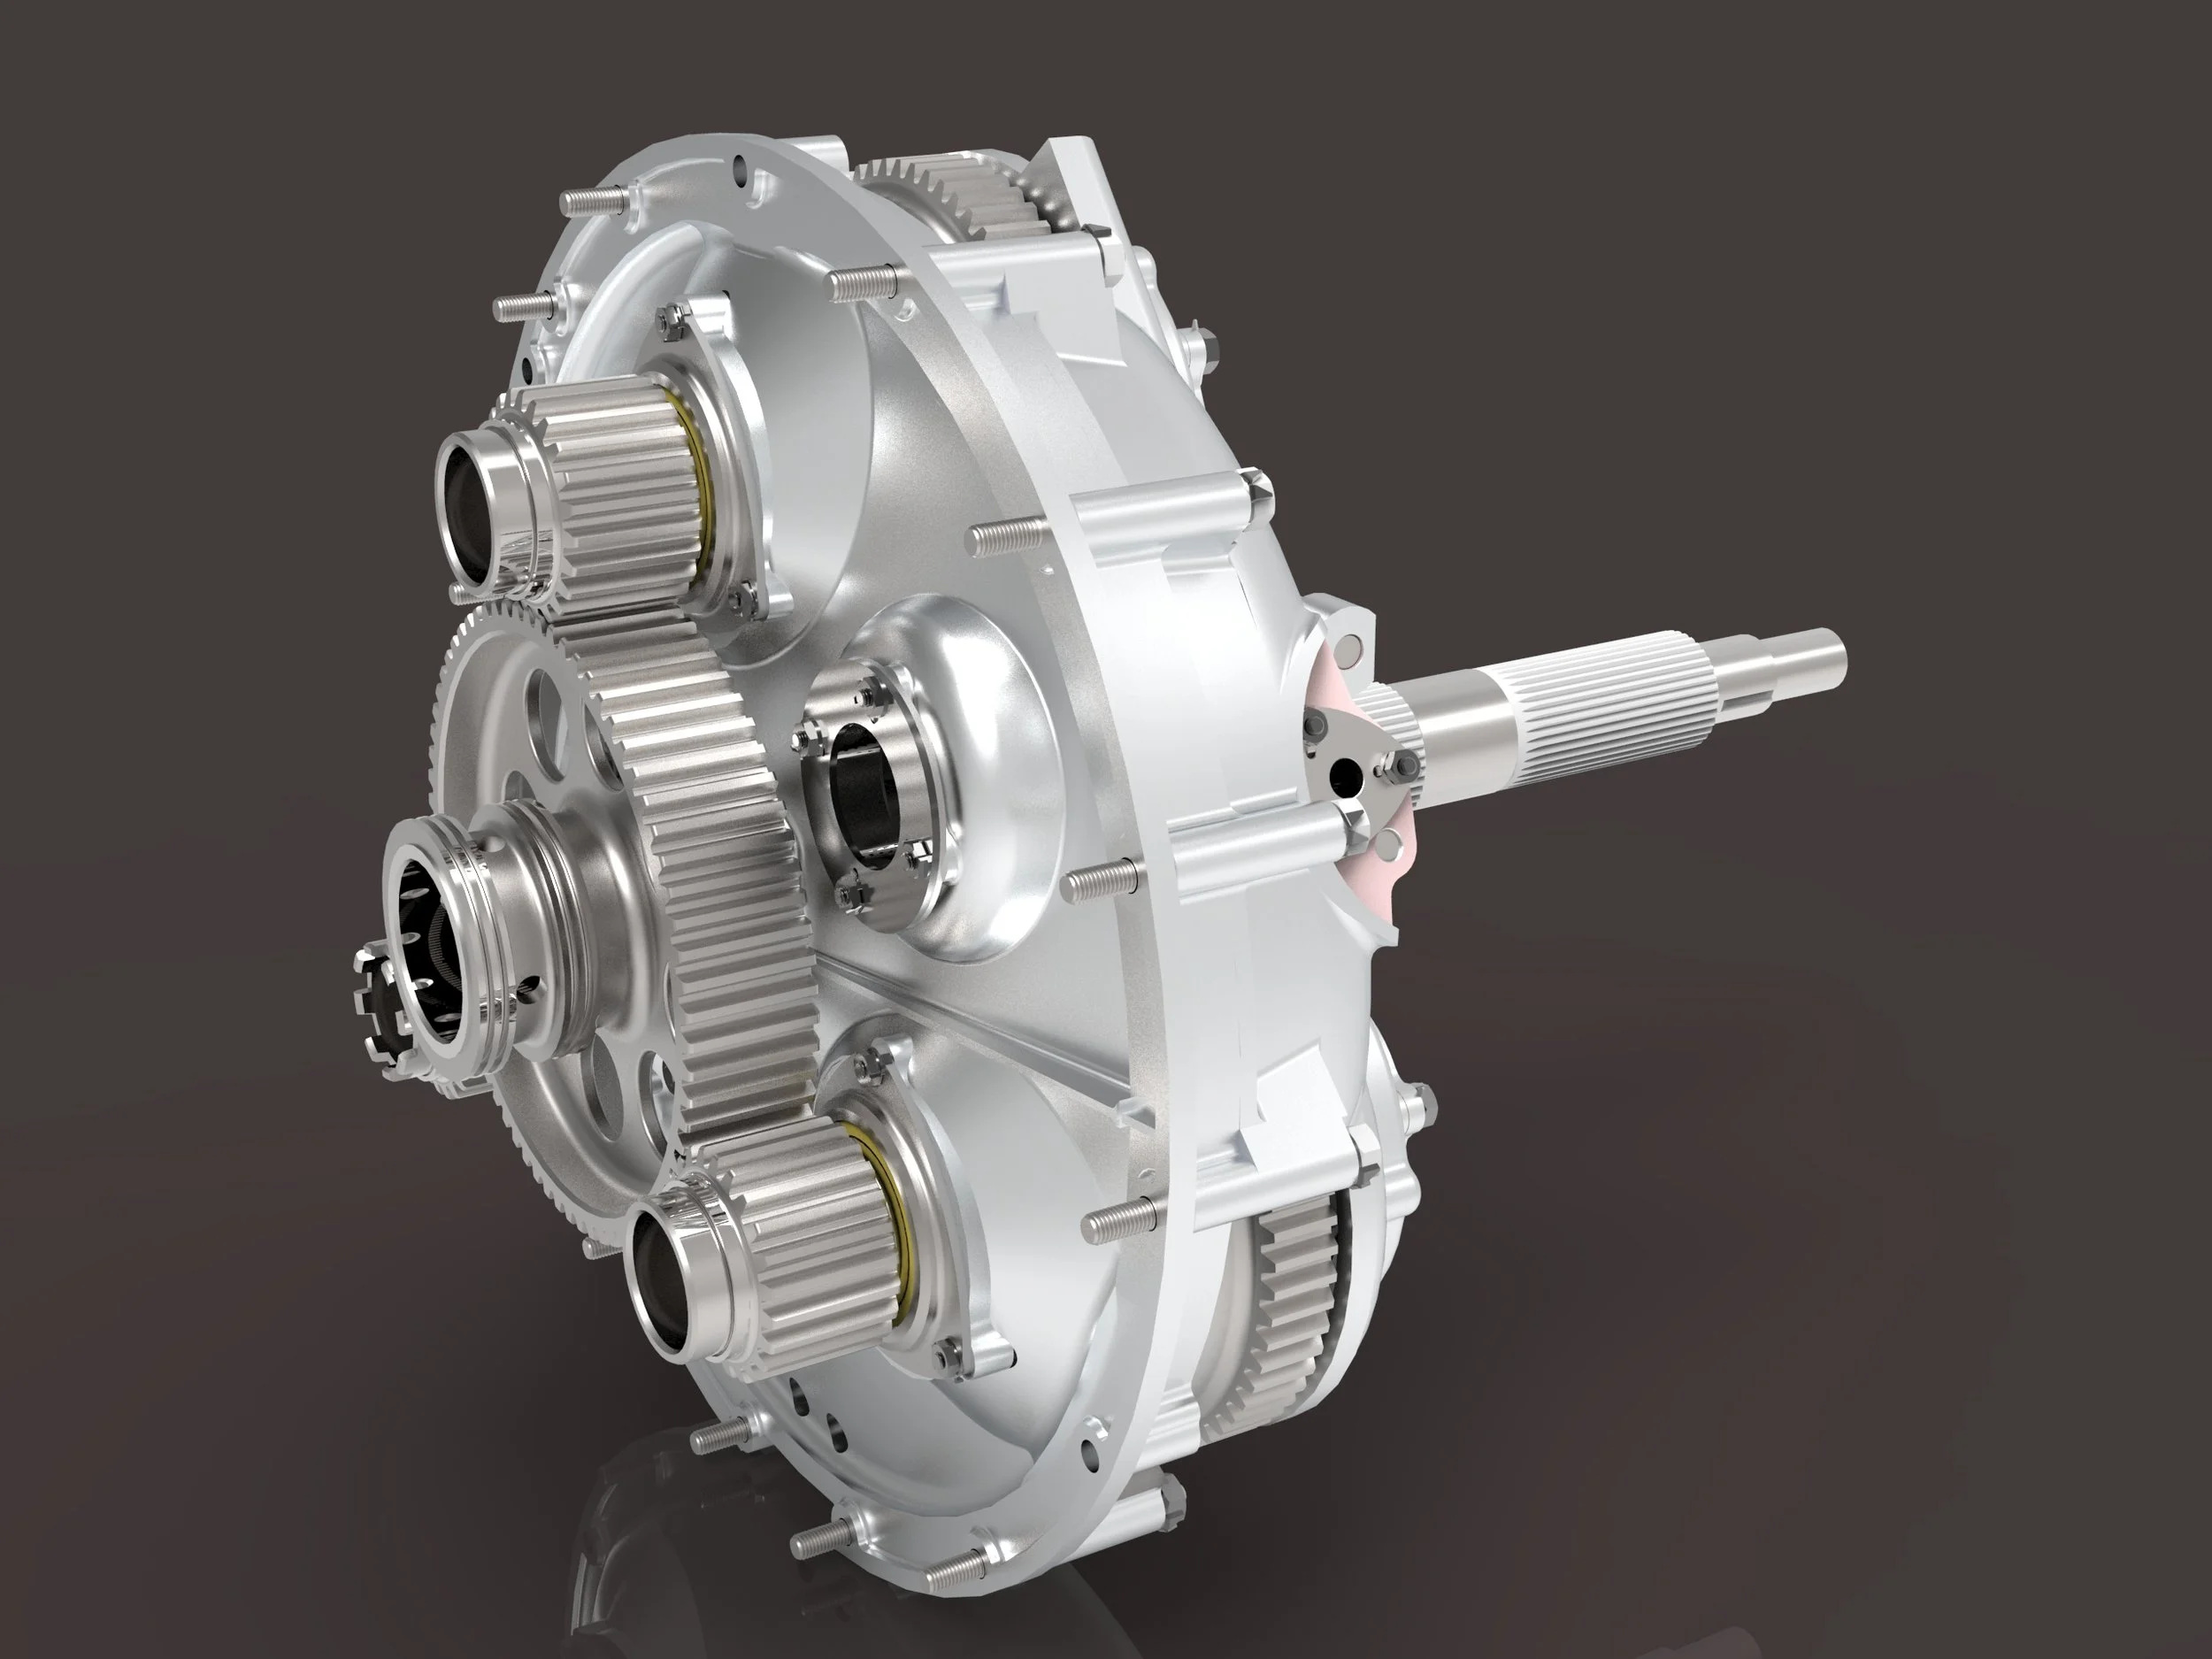
For this tutorial, we’ll be working with a model of the Rolls Royce Merlin engine, the 1,000 hp 12 cylinder behemoth that powered the Spitfire. This CAD model was built by John Fall on GrabCAD, and it’s a great way to show how QuickBOM can quickly make order out of chaos.
Why use QuickBOM in this instance?
If you were designing an engine from scratch, you would no doubt be using a program like SolidWorks to keep track of the bill of materials. That’s good! QuickBOM is not a replacement for the BOM generated by SolidWorks. Instead, it’s a great way to visualize the BOM generated by SolidWorks.
Using QuickBOM throughout the design process would allow you to have purchasing working in the flat BOM (the Library tab) while your engineers try out different parts in the structured BOM tab. As long as you get into a good rhythm of exporting from SolidWorks every week, your QuickBOM file will always be up-to-date, and all the stakeholders will always have the latest BOM.
While designing, QuickBOM will allow you to keep a running tally of cost. You can have multiple tabs of multiple different versions of the engin going at once as you optimize for all sorts of different factors.














Requirements:
Download the latest version of QuickBOM
SolidWorks 2022 or later and the full assembly (1.28 GB)
(NOTE: if you don’t have SolidWorks, or you don’t feel like downloading the 1.34 Gb zip file, you can skip straight to step 2)
Step 1: Export your your BOM from SolidWorks
Download the full assembly. If you’d like to poke around the assembly, open up Rolls-Royce Merlin V12 Engine.SLDASM. If you don’t feel like downloading the 1.34 Gb zip file, you can skip straight to Step 2.
Open Rolls-Royce Merlin V12 Engine.SLDDRW
Right click on the Bill of Materials 1 in the design tree and select Save As.
Choose the file type Excel 2007 (*.xlsx).
Give it a name (Suggested Name: Merlin SW Export.xlsx) and click Save.
Step 2: Import your BOM into QuickBOM
In step 1, we exported a BOM from SolidWorks. If you do not have SolidWorks, you can download the export from here: Merlin SW Export.xlsx
Open your blank QuickBOM file, and save it as a name of your choosing (suggested QuickBOM - Merlin.xlsm). If you need a fresh copy, download one from here.
NOTE: The first time you attempt to open the file, Microsoft will attempt to block it. Follow these instructions to get around it: quickbom.com/enable-macros.
In your QuickBOM file, on the Instructions tab, click Create New BOM.
Select CAD BOM, and give it a name (suggested Merlin). Click Create BOM.
Notice that two new tabs were created called IMPORT_Merlin and CAD_Merlin. Click on the tab IMPORT_Merlin.
NOTE: A CAD_<your BOM name> is a BOM that is driven by CAD. You can’t reorder parts or form subassemblies in a CAD driven BOM because that is set by your CAD system. This is different from a MAN_<your BOM name>, a manually created BOM, which you saw in Tutorial 1.
Open Merlin SW Export.xlsx.
In Merlin SW Export.xlsx, select all cells by hitting ctrl+a and copy them by hitting ctrl+c.
In your QuickBOM file, on the IMPORT_Merlin tab, select cell A1, and paste by hitting ctrl+v.
In your QuickBOM file, on the CAD_Merlin tab, click Sheet Controls. Click Import from IMPORT_ tab.
Step 3: Learning to read the BOM and customize It
Start in CAD_Merlin tab. You are looking at a structured BOM of the Merlin engine. This sheet is generally helpful for the engineers designing the assembly.
Press ctrl+f and search for the word “Piston”. Note: clicking Find Next will find nothing. You must tell excel to Look in: Values. In the Find and Replace window, you can find this option by clicking Options >>.
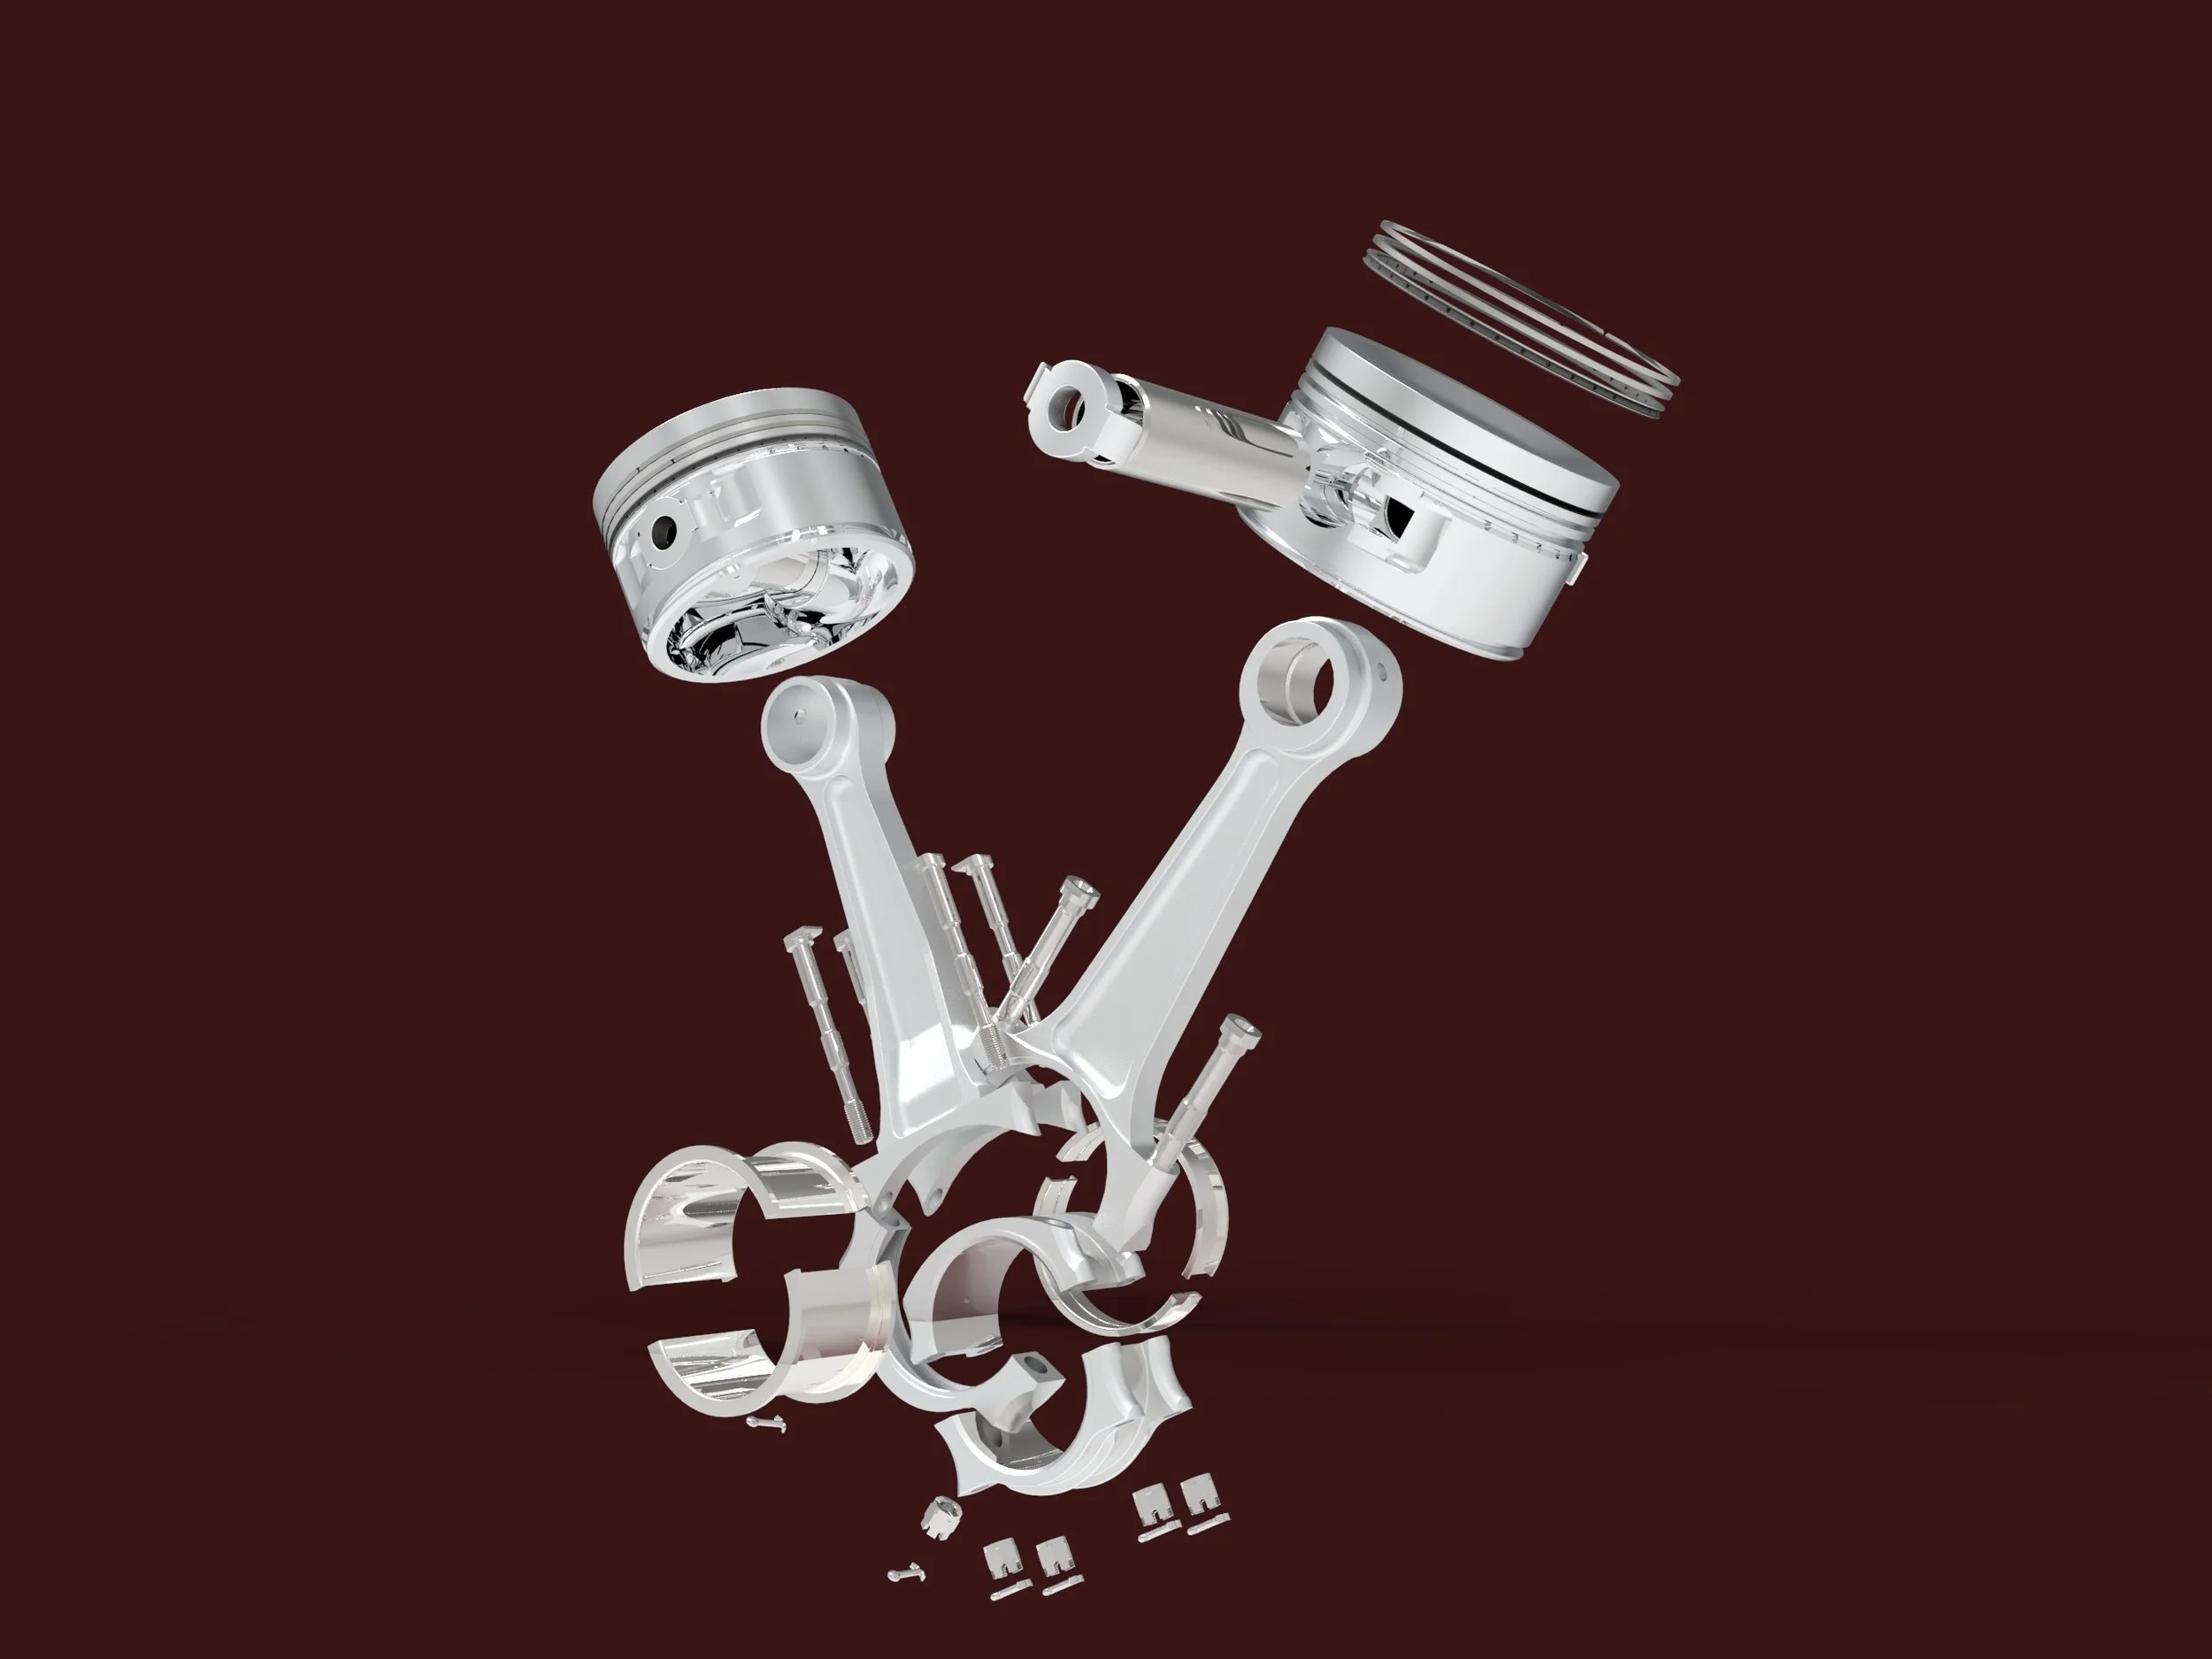
Notice that row 203 is part number 618618 - PISTON. Qty 1 piston is contained in an assembly called 701059 - PISTON ASSEMBLY. Qty 2 Piston Assemblies are contained 701060 - PISTON-CONROD ASSEMBLY, and Qty 6 Piston-Conrod Asm are contained in the whole engine. 1*2*6 = 12 so there are 12 cylinders in this engine. Check cell G203 and sure-enough, the flat qty is 12.
3. Since this is an aircraft engine, it would be great to calculate and track the total mass of each assembly. To do this, use the subtotal feature.
Place your cursor in Cell L3 (just to the right of the cell with Mass in it).
Click Sheet Controls and Insert Column Header.
Choose Column Type Subtotal and choose Subtotal of (Mass) from the dropdown. Click Create Column.
Columns L and M will be created to sum up the Mass of each assembly.
Notice in cell K203 that piston weights 3.34 lbs. Once it gets assembled with the piston rings, pins, and retainer, cell L202 shows 4.68 lbs.
All the way at the top, you can find the total weight of the engine om cell L4 as 847.55 lbs.
Now go to the Library tab. You are looking at a flat BOM of the Merlin Engine. This tab is great for Purchasing people to work in.
Highlight Row 2 and click Data, Filter. This will allow you to filter all items.
Press ctrl+f and search for 618618. This is the Piston. This shows up in row 200.
Let’s add a few extra columns.
Choose the next open cell in row 2 and type Manufacturer. In the cell above it, type Custom.
Choose the next open cell in row 2 and type Manufacturer P/N. In the cell above it, type Custom.
Choose the next open cell in row 2 and type Cost. In the cell above it, type Custom.
A great next step for the BOM would be to bring in your purchasing team. You can ask them to fill in Manufacturer, the Manufacturer’s Part Number, and the Cost for each item.
Now go back the the structured BOM tab (CAD_Merlin).
If you’d like to show a column to display the cost, click Sheet Controls and Insert Column Header. Choose type Custom, select Cost, and click Create Column.
If you’d like to show a column to display the manufacturer, click Sheet Controls and Insert Column Header. Choose type Custom, select Manufacturer, and click Create Column.
If you’d like to show a column to display the manufacturer part number, click Sheet Controls and Insert Column Header. Choose type Custom, select Manufacturer P/N, and click Create Column.
You can now have engineers typing in the Cost, Manufacturer, and Manufacturer P/N on the structured BOM tab while the purchasing team tab works on the same information in the Library tab. Data will automatically sync between the two tabs.
General Tips & Tricks
If you share this file using OneDrive or SharePoint, you can have multiple users in the sheet at one time.
Engineers generally work in the tab that shows the structured BOM (the CAD_Merlin tab)
Purchasing generally works in the flat BOM (the Library tab).
Any changes on CAD_Merlin tab or the Library tab will be reflected on the other tab.
During periods of heavy design time, it is recommended to export a fresh BOM from your CAD system about once per week. QuickBOM is designed so that only new data is written.
Experiment with adding other “Custom” columns. In my experience, it’s very helpful add custom columns for the following.
Status - I use this column to track where the part is in it’s design process. Examples: Drafted, Ready for Checking, Redlined, Ready for Purchasing, etc… Every company’s process will be slightly different.
Engineering Assignee - I generally assign an engineer from the team to every single part. If there is a drafting error on that part, I make that person go back to it and fix it.
Purchasing Assignee - I generally assign a purchasing person for every part. That way, I can be confident that we will fully cost a design on time.
Stock as Spare Part - When an engineer identifies a part as a wear item, they indicate it in this column. That tells supply chain to stock extra parts to be sold as spares.

